In the quilting community, UFO’s are “unfinished objects” or projects that are in varying degrees of needing to be completed. The guild issues a challenge each fall to members to complete their UFO’s. At the November 2014 meeting, we can pay $3 into the challenge to submit our list of projects, and at the August 2015 meeting, we’ll reveal the results.
Here’s my list with pictures:
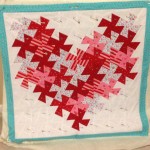
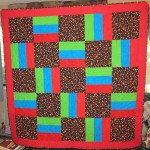
Heart Quilt Pinned, ready for quilting
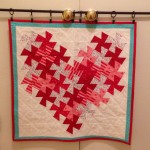
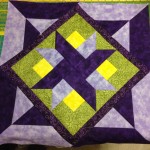
Finished “Cross my Heart”
done in time for Valentine’s Day 2015
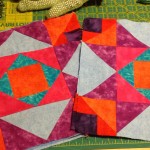
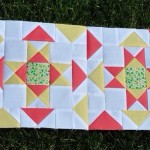
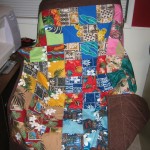
collection of blocks I won at a BOM
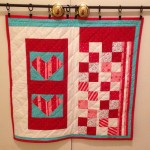
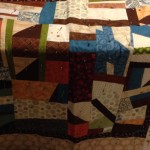
Modern BOM needs quilting
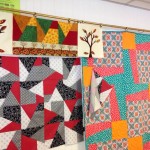
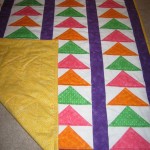
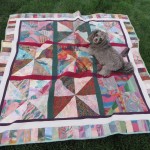
Karla Alexander charity quilt
this modern one needs quilting
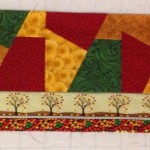
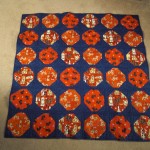
I bought these baskets at a garage sale, maybe table runners or a charity quilt?
One of the guild activities each year is a Challenge Quilt. This year, it was the theme “Initially Yours”. We were to use either fabrics or styles or images reminiscent of our initials. For me, this was a chance to make a quilt I’ve been thinking about for awhile, a landscape beach scene.
I used the “A”pplique technique of using “F”usible “F”abric and decorative “S”titches. Included are fabrics that imitate “A”qua water, trees in a “F”orest, and “S”andy beaches. There’s even a tidepool and kites flying since those are two of my favorite parts of visiting the ocean.
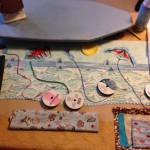
layout of kites and sun
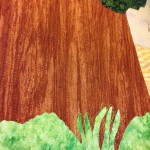
tree detail stitching
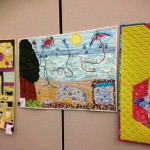
final product
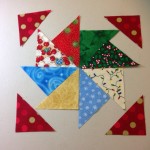
It was fun to see what other people came up with, and many of us used this opportunity to try a new technique. Here are a few that I liked, which turned out to be the three most popular as voted on by the guild members.
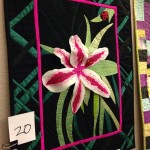
3D Lily
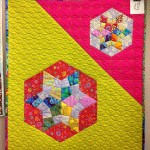
Sashiko Hexagons
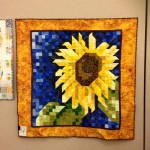
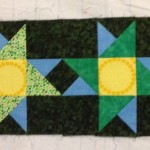
Blooming Sunflower
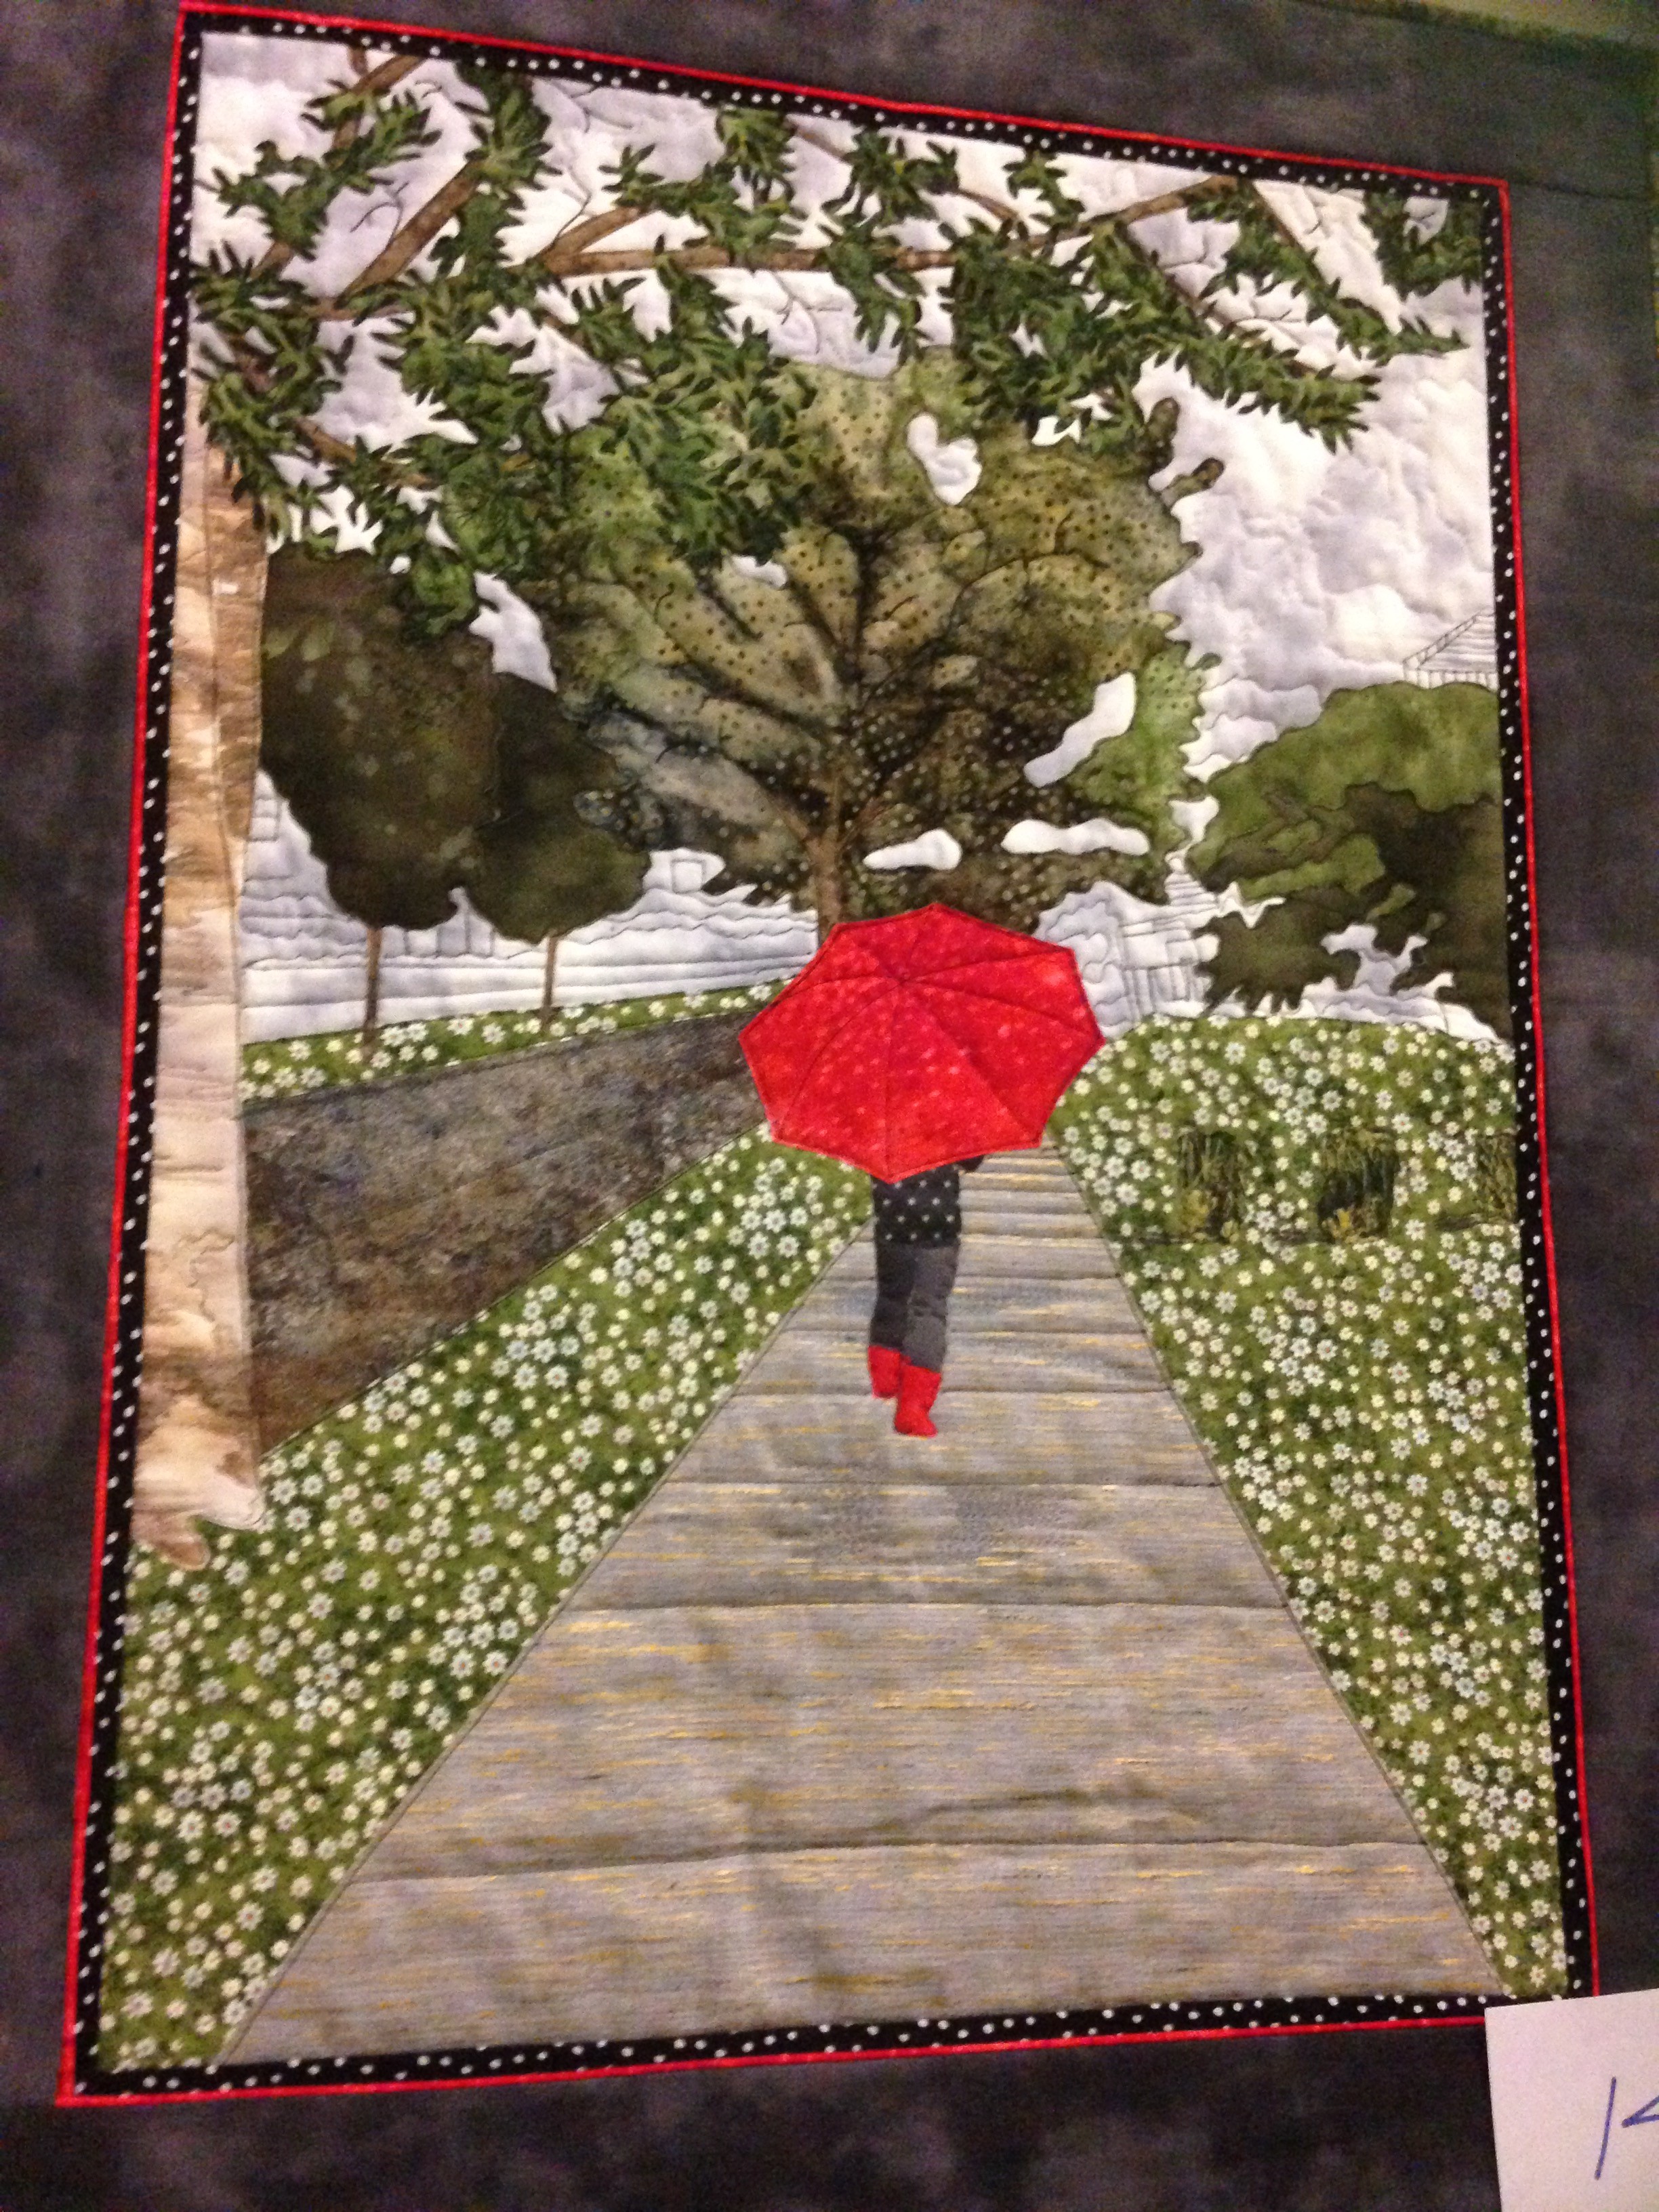
(2015) This year’s challenge quilt was to use “neutral + 1 color family + zinger”. It was again interesting to see how people interpreted those “directions”. This was one of my favorites.
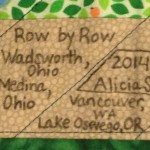
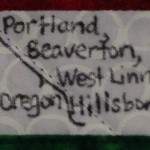
This shop hop, the Row by Row Experience, is nationwide and quite simple. Just visit the participating shops and ask for their free “row by row” pattern. The theme is “seasons” so it might be holiday themed or use the four seasons tree fabric provided by the sponsors. Some shops offer a kit for purchase with the fabrics needed to make it in their color palette. Many shops are also selling license plates with funny fabric/sewing related sayings. I’d like to collect one from each state I visit this summer.
Here’s a few of the blocks I collected in Ohio (pictures courtesy of the shop’s website or from my visit):
Wadsworth, OH
Akron, OH
Medina, OH
example how to use license plates
When I returned to Oregon, I collected another few row patterns and started work on a wall hanging using 8 of the blocks. Since I only bought the fabric pack from two shops, for the rest I used stash fabrics or picked up fat quarters to fill in sections. It was fun to practice some new techniques, like the fusible applique.
Little Red School House row
Just for Fun Quilting row
Holly Hill row
Pine Needle row
Quilter’s Corner Store and Sandra’s Stitches row
Fabric Peddler row
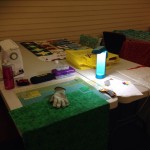
Also, I used a new technique for basting (not pinning) the quilt that mom taught me using two boards to mimic a quilt frame. It worked really well! I also figured out that it would look nice to quilt with two different threads and using diagonal lines since the rows didn’t line up front to back very well. Here are a few more pics of the process:
set up at Piece and Quiet
auditioning fabric placement on row from Tea Time Calicos
basting technique
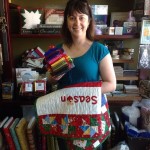
After a few nights up until midnight sewing, I turned in my finished quilt for the prize at Quilter’s Corner Store. 25 fat quarters in a rainbow of colors ready for inclusion into new projects and 2 yards of anything in the shop (I bought some beautiful batiks for an upcoming quilt project! Tea Time Calico also generously gave me a free yard of fabric for including their row in my final project. It’ll be fun to show the final project at the September WSQ guild meeting.
This summer, I had the great fortune to visit Ohio to celebrate my Grandpa’s 95th birthday with all my aunts, uncles, and cousins. We enjoyed a picnic in his backyard and hosted an open house for his friends from the community.
Since my Grandma was a quilter (she did the piecing) and my Aunt Jean does hand quilting, being in Ohio reminds me of the origin of this hobby for me. We visited Aunt Jean and at 92, she has two projects going at once. A baby quilt being hand quilted and a cross stitch project:
We also visited Amish country. Since it was Sunday, a day of rest, no shops were open, but if they were, we’d have likely seen horse and buggies parked outside here:
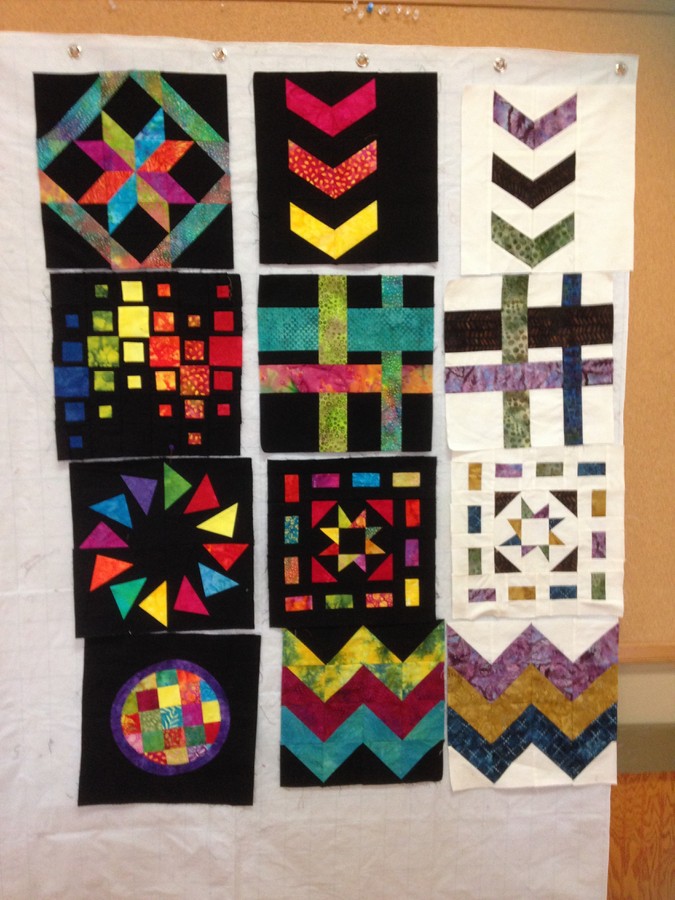
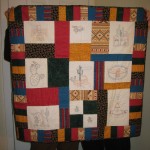
I received patterns for a modern quilt block of the month from our Sewing Saturday group. They got permission to distribute this collection of patterns from the Knoxville Modern Quilt Guild. The other women have already started, which leads me to think about what color palette I want to use.
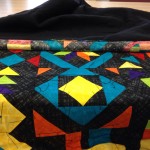
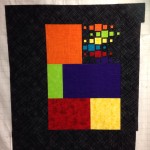
I decided on my fabric collection for this modern BOM. I’m intrigued by Amish style quilts with the contrast of black and solid color, so I’ve taken that up a notch to become more modern. Bright, saturated colors and a black/gray print background are going to pop! Thanks again to Deb at the Quilter’s Corner Store in Beaverton for her advice about fabric selection.
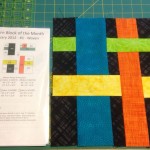
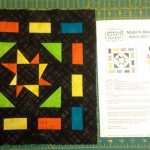
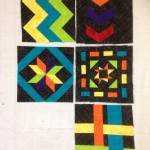
The January Block created an illusion of woven strips. Making the February Block was my first time making chevrons, using paper piecing for precision. Then for the March Block, the center block wonky star is from another online tutorial. I like how the colors I chose turned out looking like the sun.
Janurary Woven Strips
February Chevrons
March Star with Filmstrip
(3/15) Last night at the Sewing Friday in North Plains, I cut up the fabric for a few more blocks, and today finished sewing three of them! A paper piecing block is also started. I decided to color on the paper pattern to make sure I get the colors in the position I want (so it doesn’t look like a rainbow but includes all 6 colorful fabrics).
Two on the left are newest
And tonight, a third new one is complete
Paper Piecing beginnings
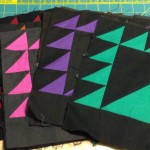
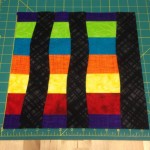
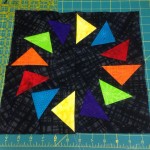
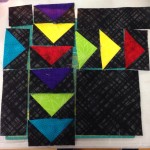
(3/16) The flying geese around in a circle block is complete now. I think this is my favorite block so far. Hopefully I have enough fabric at the end to make another one like it for a table runner project. I’ve started planning the next paper piecing block and asked Aaron to color in the pattern. It’s a helpful way to see how the block will look and plan out where to put all the pieces.
Flying Geese in a Circle
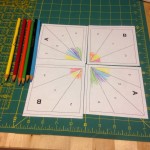
Coloring the paper pattern
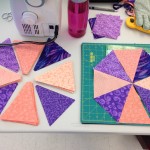
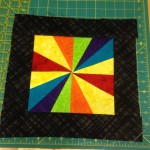
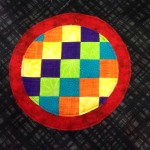
The Color Wheel
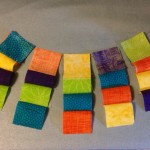
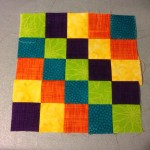
The next block is made with 25 2″ squares, then I need to figure out how to cut out a circle and then set the circle on top of another circle (red fabric) and then both on top of black. To make the grid, lining things up carefully and strip piecing made it a quicker easier process.
Chain piecing and careful ironing
Center Grid
Raw Edge Block
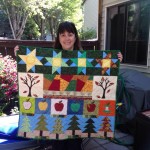
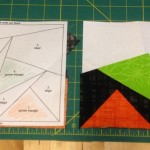
(5/25) The final few blocks are now complete! Next step is to decide about how to connect them into a quilt top. The challenge from the guild is to have it ready to show in September.
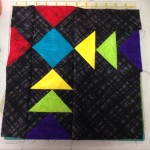
Geese as the pattern described
My interpretation of the block
Diamond Block
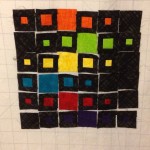
Pixel Block
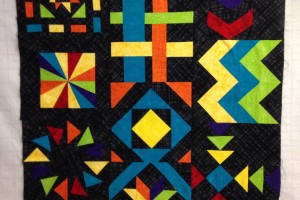
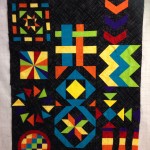
Now that all the blocks are finished, time to put it all together and create a back. At the September Sewing Saturday, I finished placing the 12 blocks, 11 on the front and one on the back with some scrap pieces. At the October Sewing Saturday, it all sandwiched together with black batting (purchased off the roll at Sharon’s Quilt Attic). I used a technique my mom showed me on youtube that uses two boards to provide the tension to flatten it out and not need pins. Instead, it’s basted with black pearl cotton and ready to machine quilt, perhaps I’ll practice free motion quilting.
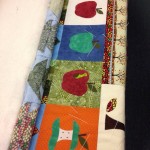
I love making quilts for friends and family. It’s fun to pick out the patterns and colors that they might enjoy while practicing new techniques for quilting.
embroidery on a southwest quilt
suduko quilt for mom
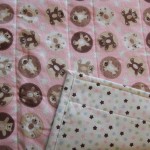
baby blanket for Teddy’s daughter
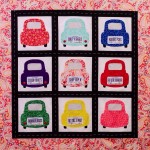
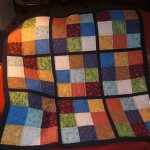
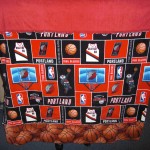
Quilt
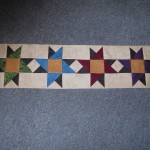
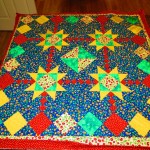
star quilt, finally finished from a class I took with mom many years ago
quilt for Sam to take to college
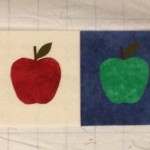
squares from Hawaii
My first quilt, started in high school and finally finished! Made from swatches of decorator fabric.