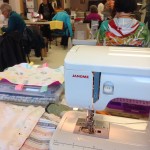
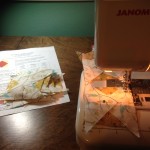
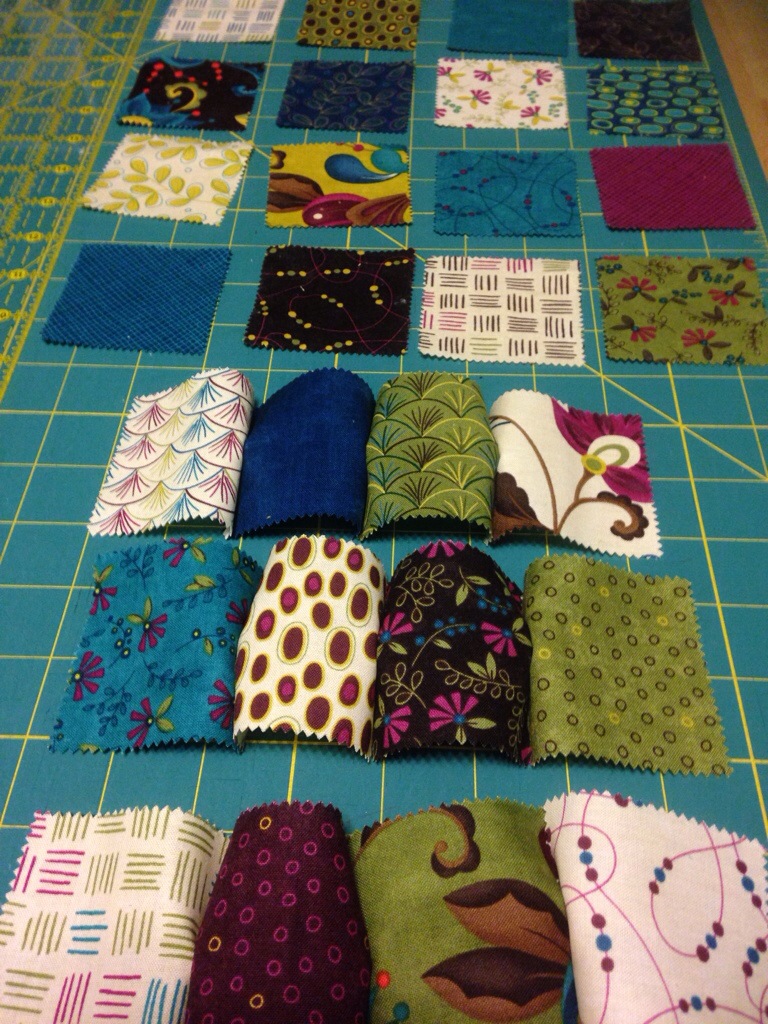
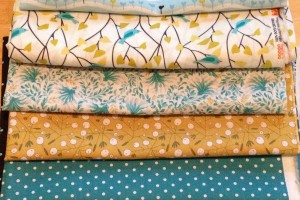
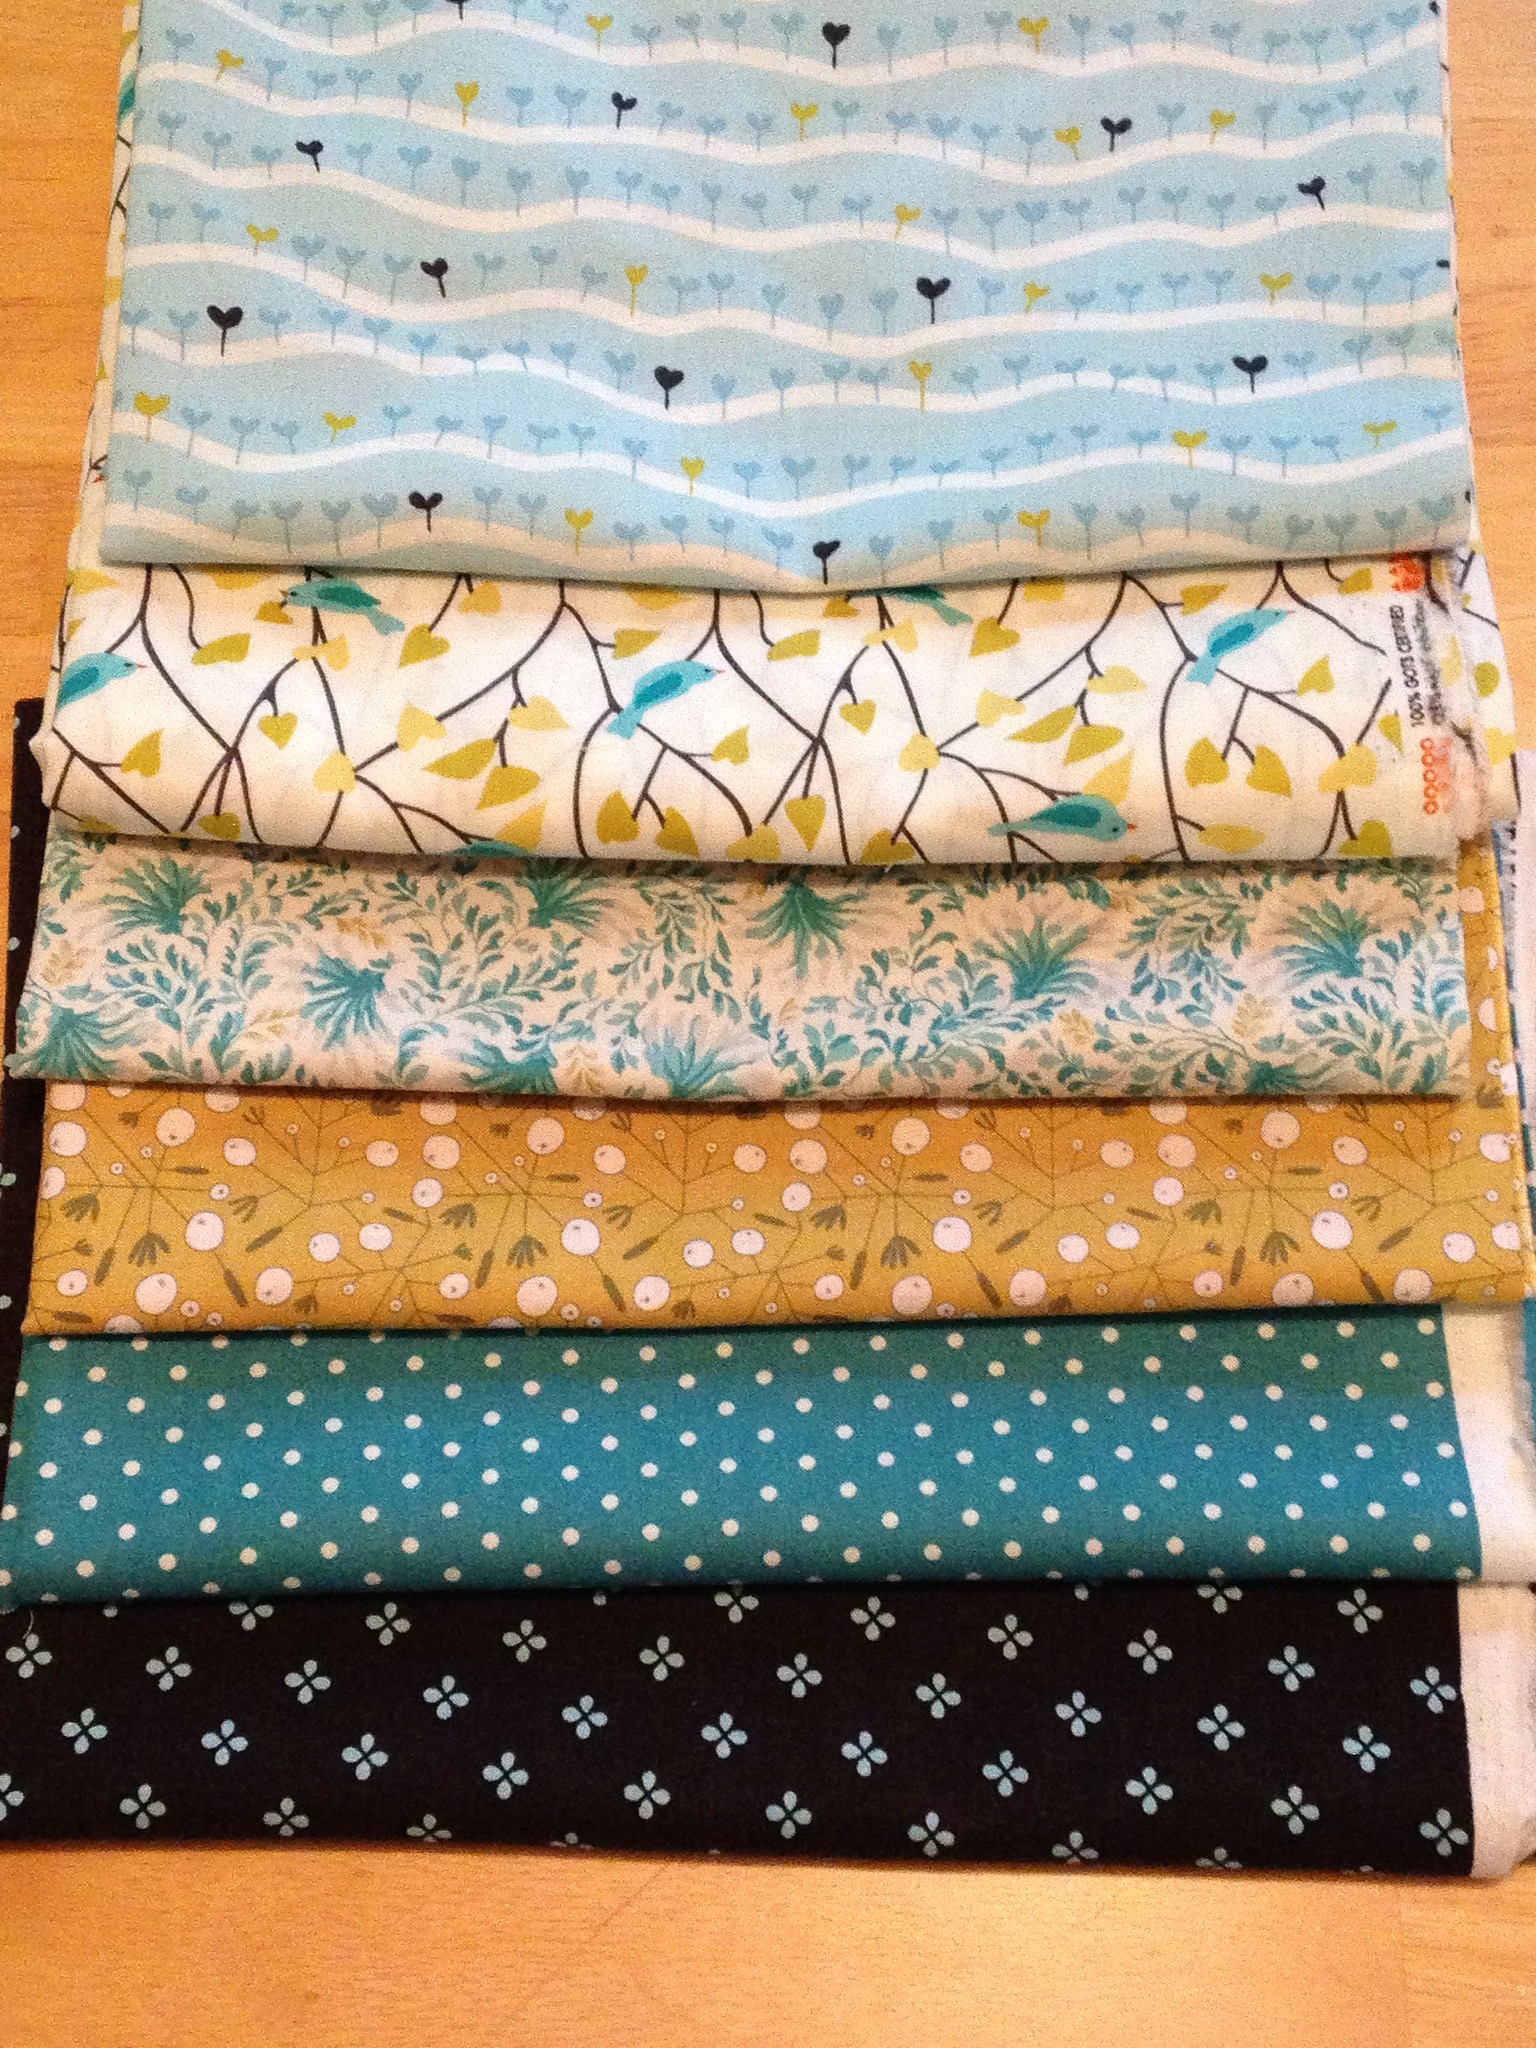
I’ve never done a mystery quilt before, so I’m excited to try this one designed by Joyce Geiszler from our quilt guild http://www.quilterchickdesigns.com/. I found these fabrics at Joann’s that are different colors than the pattern but match the light/medium/dark requirements:
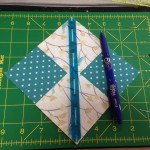
The first “clue” is to make about 40 triangles using a new ruler (thanks to coupons and teacher discount). The birds are a directional fabric, but since I don’t know what the final project will look like, I’m not too concerned…in fact I think it will look great, like they’re flying all over the place!
Speaking of birds flying around, the second “clue” is to make flying geese blocks. A whole flock of geese actually. Thanks to Marta, I borrowed her BlocLoc ruler to square up the final blocks, which made it much easier.
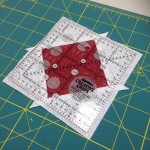
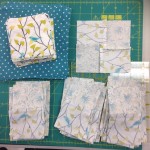
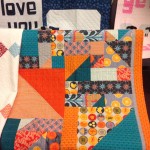
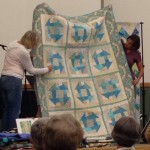
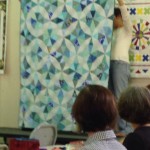
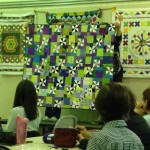
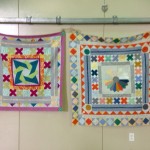
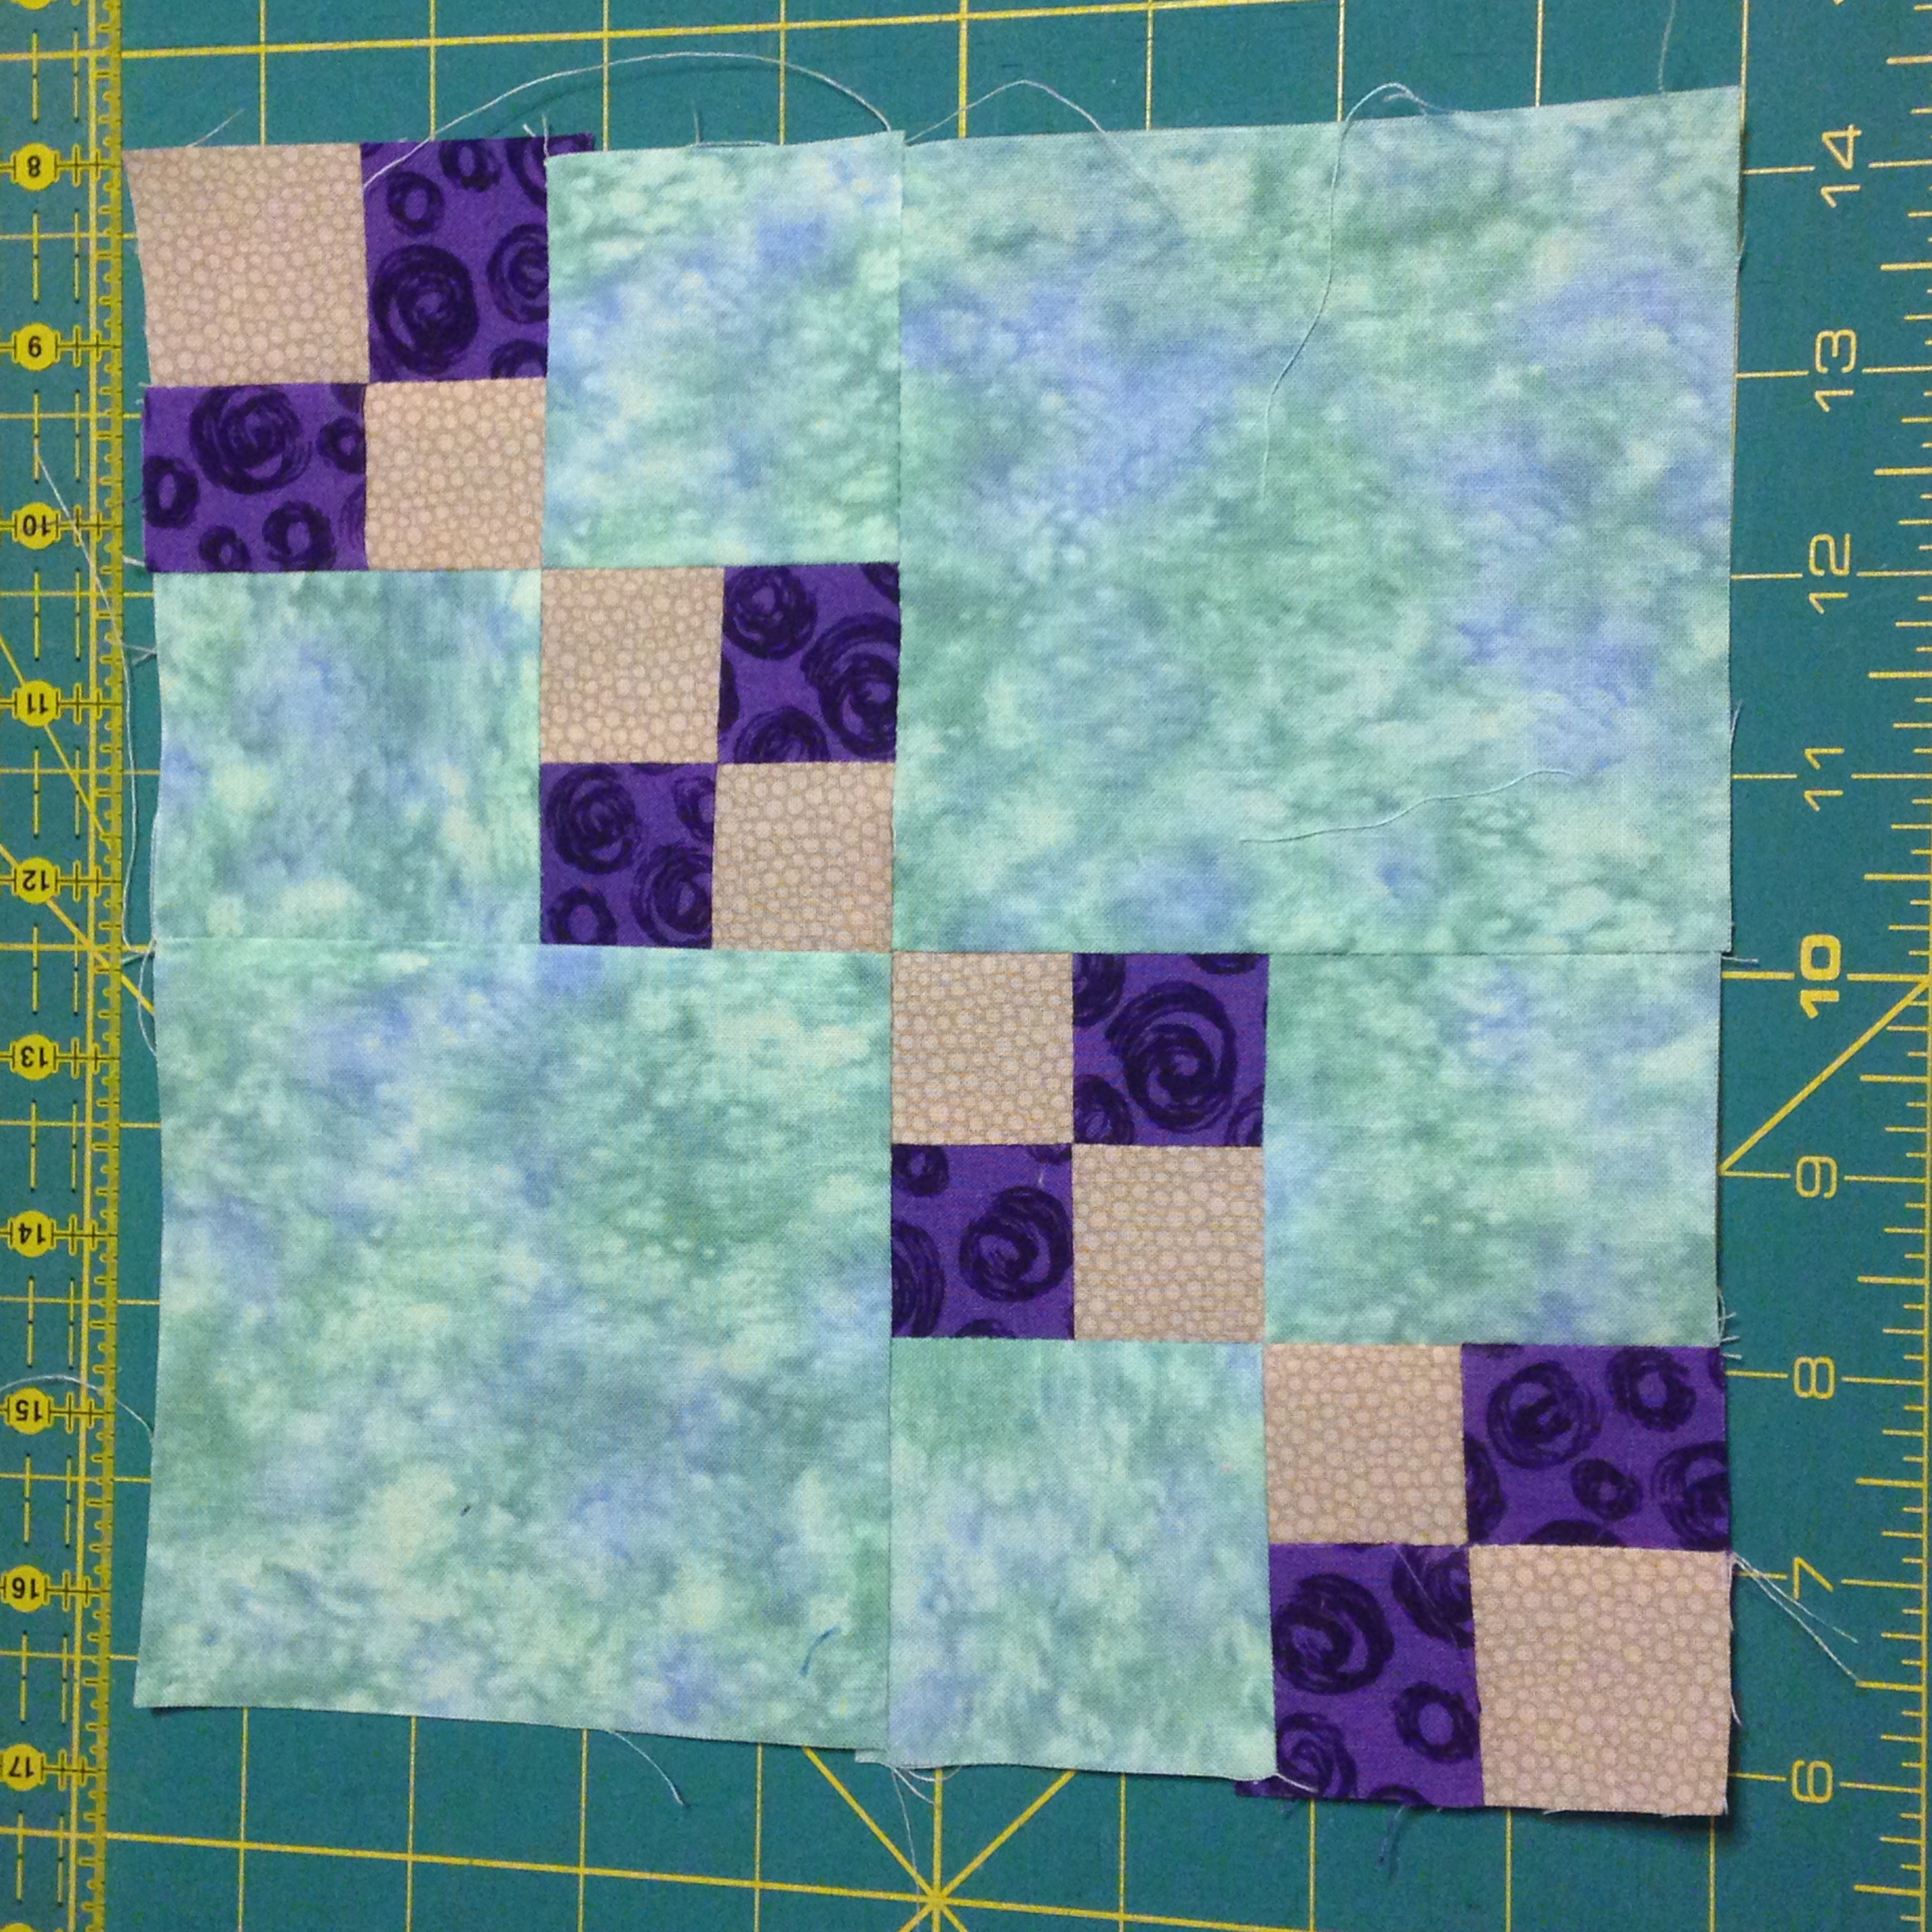
At the November Sewing Saturday, Joyce gave us the next two clues (four square patches and square in a square blocks). She helped me with some color choice ideas and techniques for making accurate blocks with cutting/ironing techniques.
Sewing Saturday November 2014
lesson on square in square
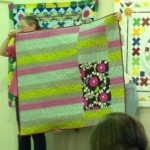
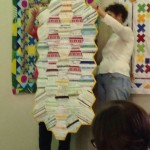
finished work for today
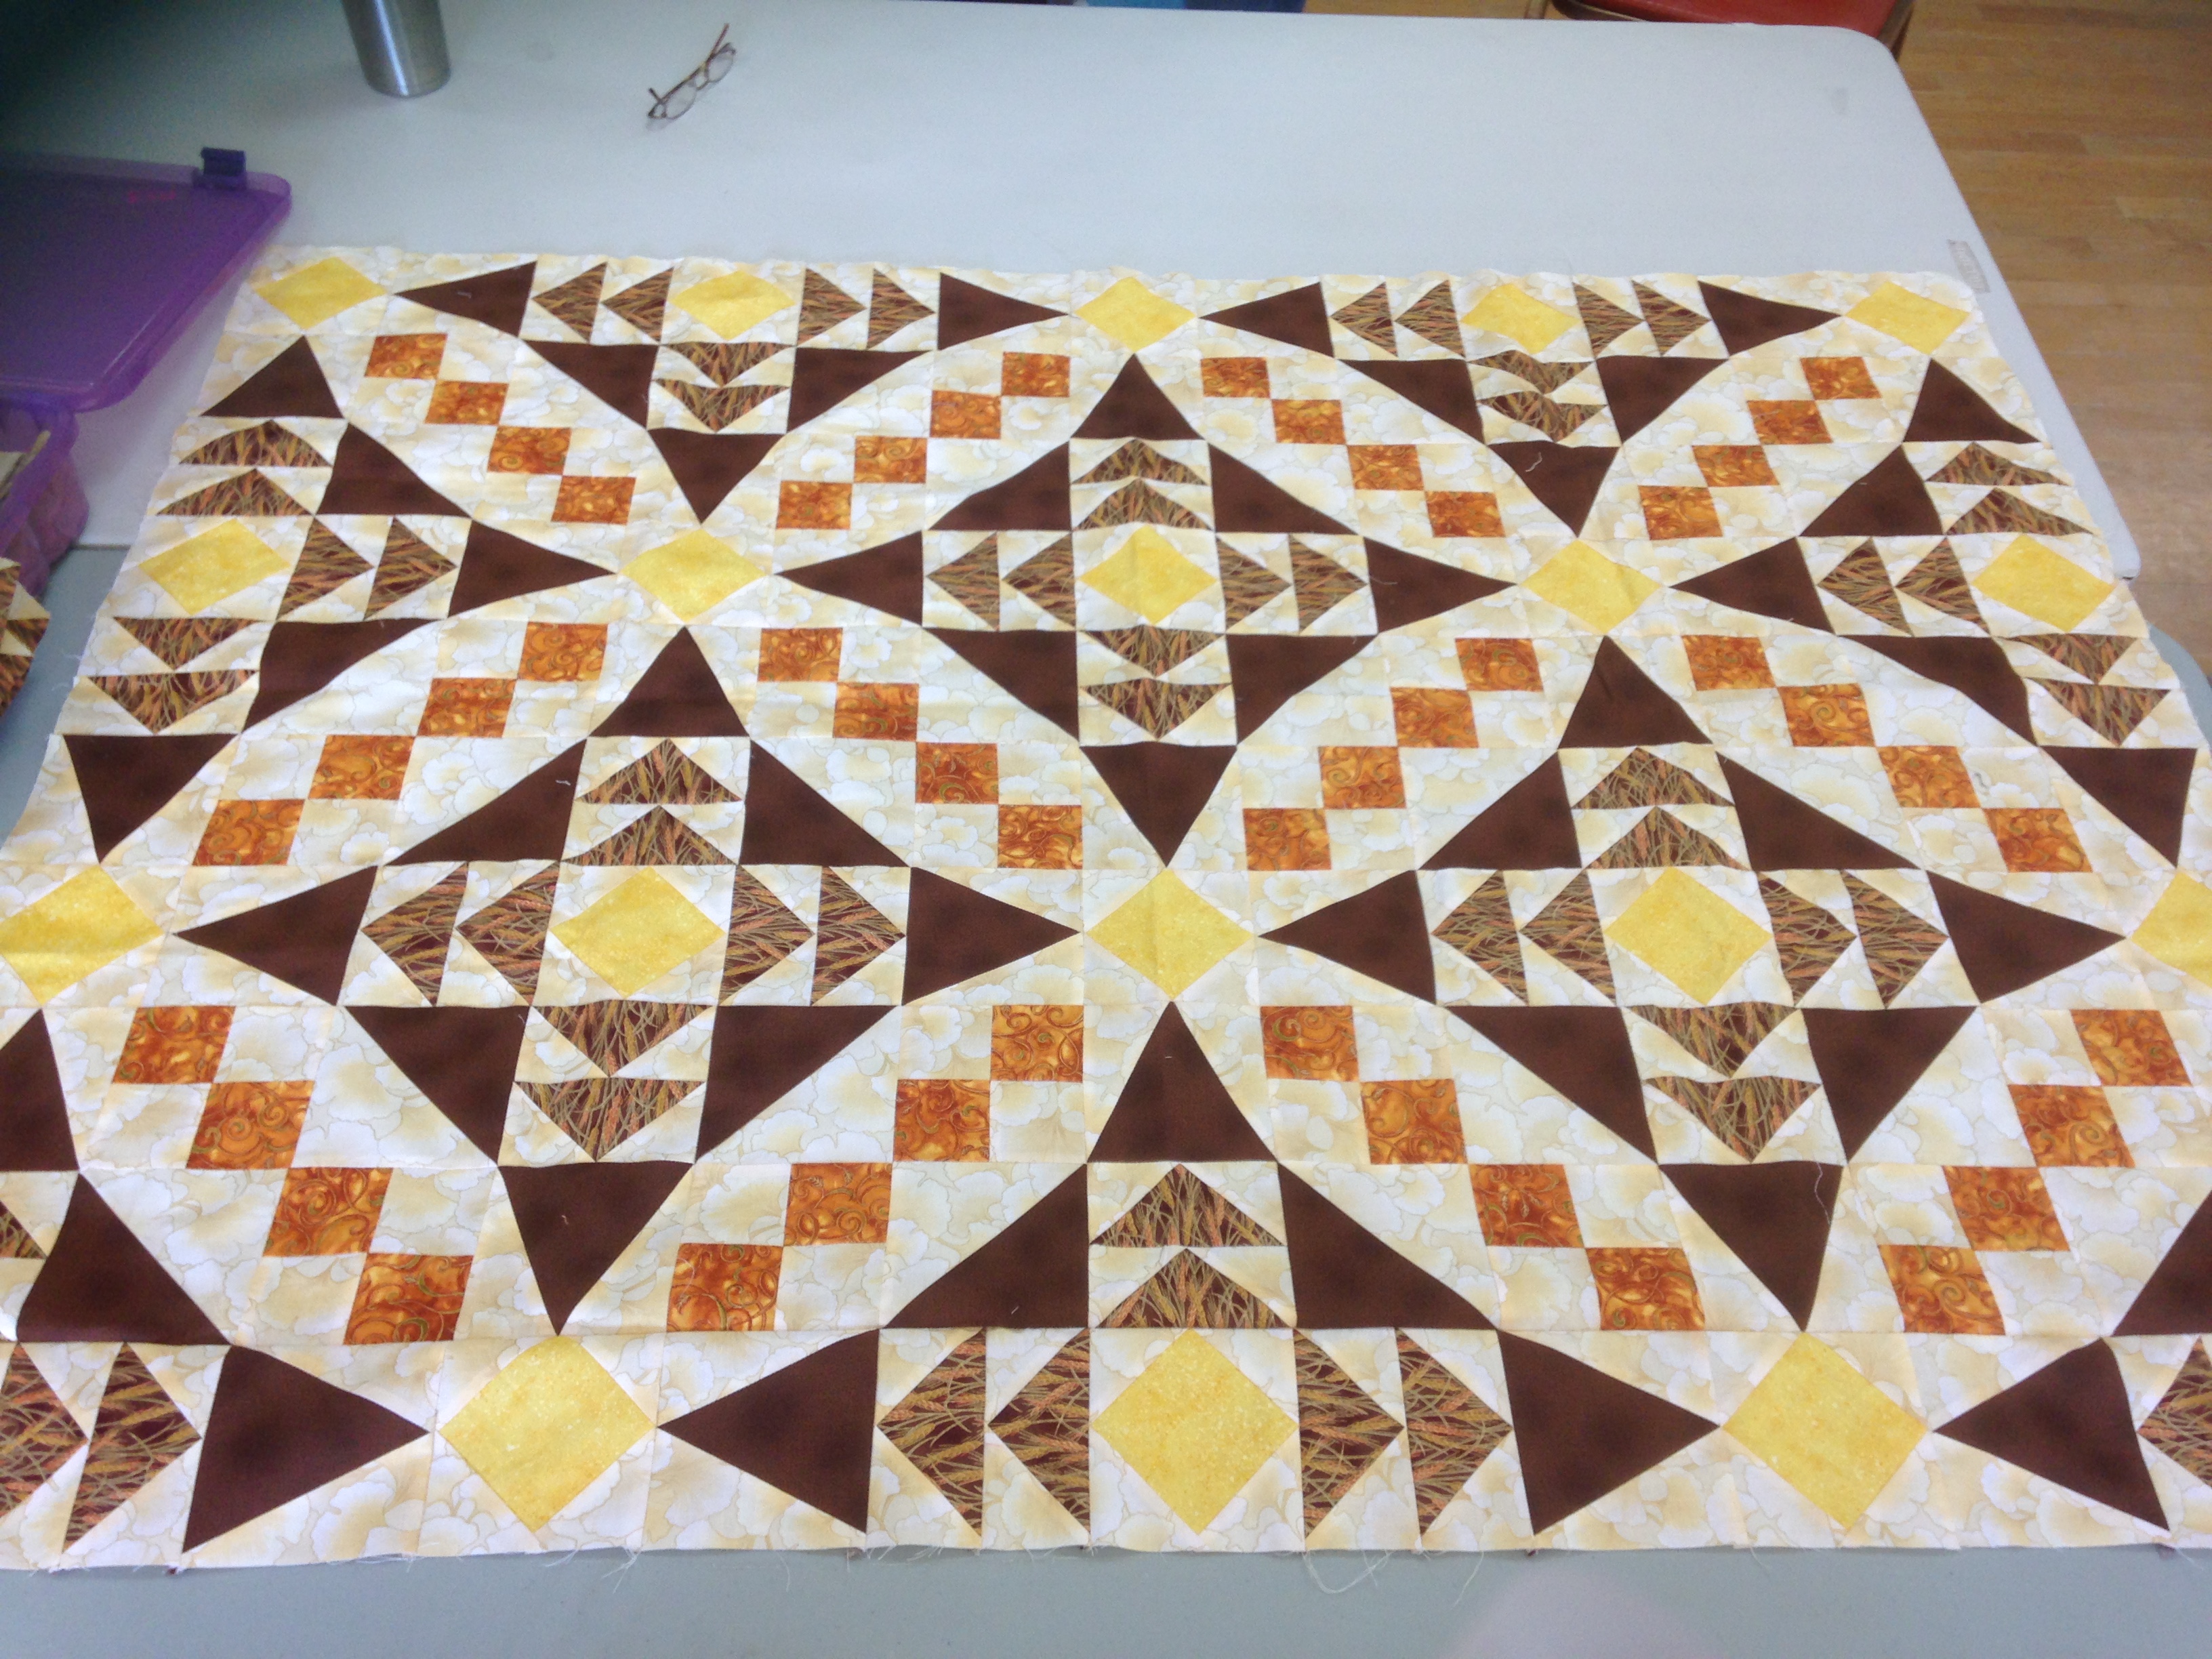
Here’s what Marta’s looks like as she finishes sewing the pieces together!
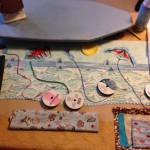
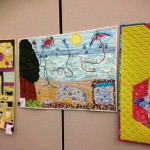
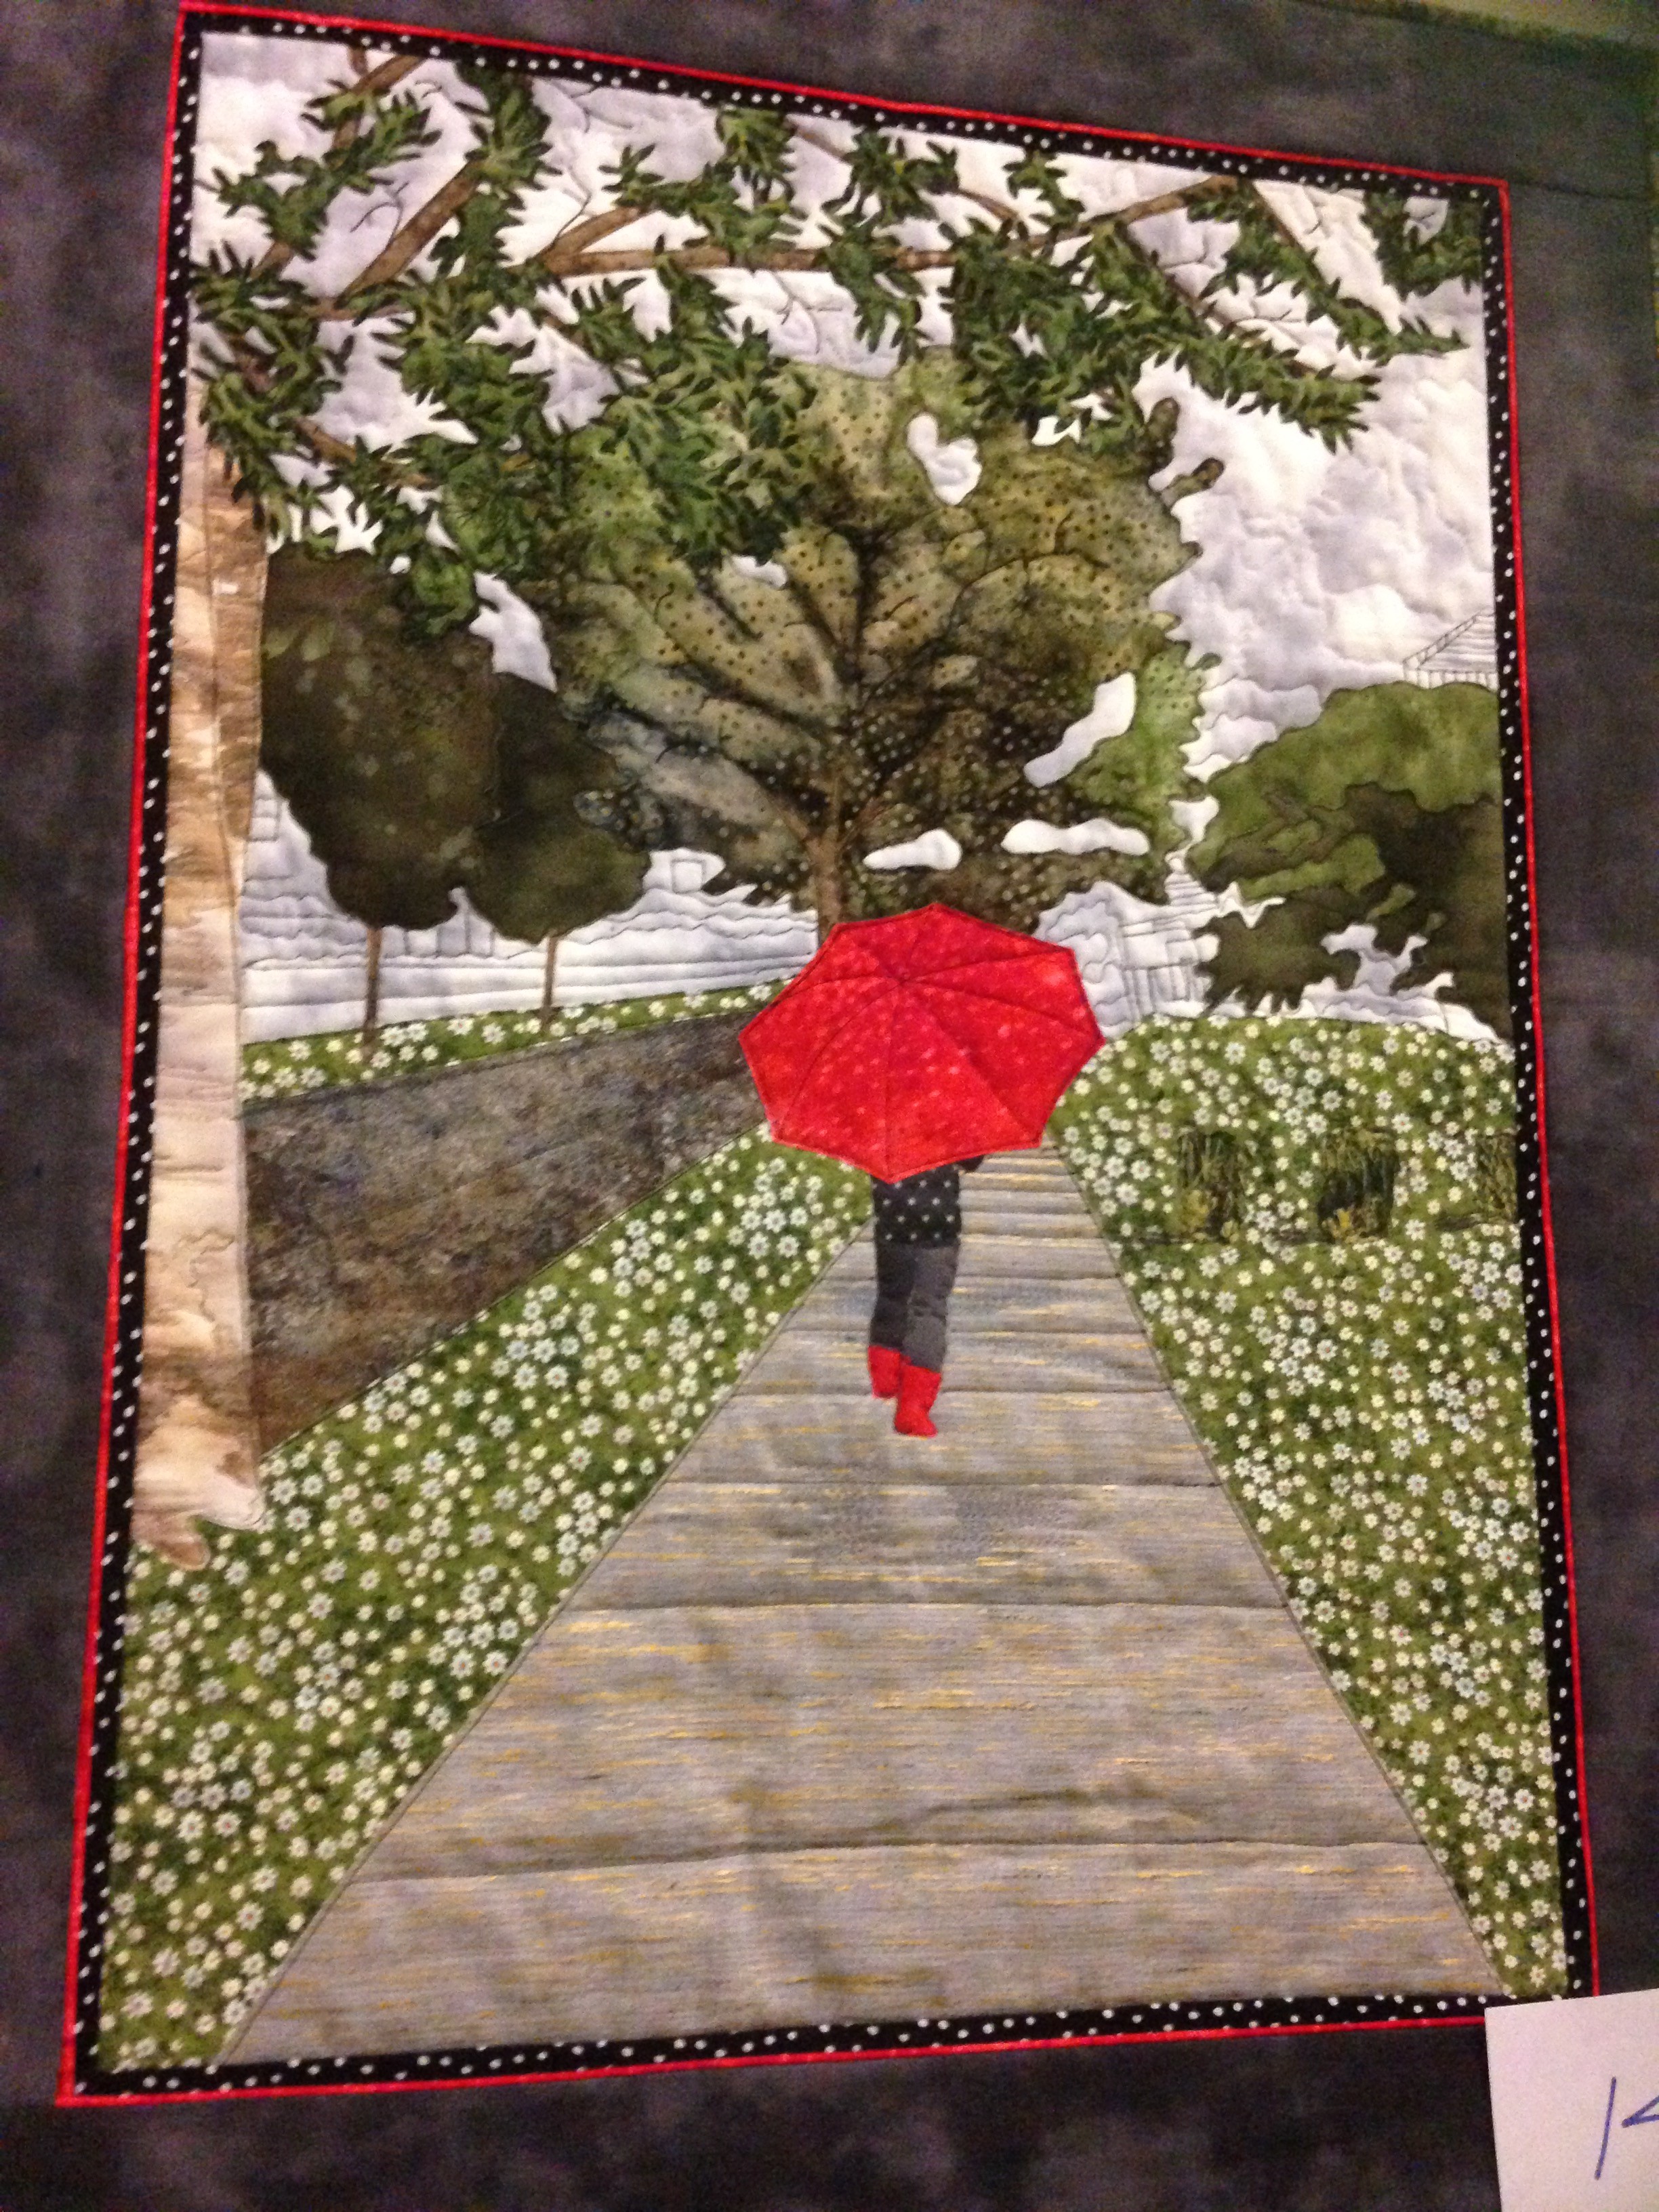
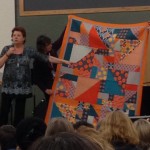
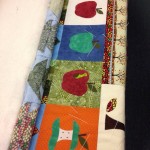
One of the guild activities each year is a Challenge Quilt. This year, it was the theme “Initially Yours”. We were to use either fabrics or styles or images reminiscent of our initials. For me, this was a chance to make a quilt I’ve been thinking about for awhile, a landscape beach scene.
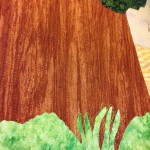
I used the “A”pplique technique of using “F”usible “F”abric and decorative “S”titches. Included are fabrics that imitate “A”qua water, trees in a “F”orest, and “S”andy beaches. There’s even a tidepool and kites flying since those are two of my favorite parts of visiting the ocean.
layout of kites and sun
tree detail stitching
final product
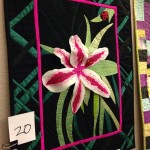
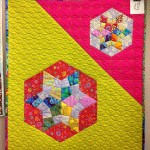
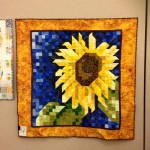
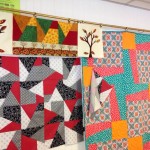
It was fun to see what other people came up with, and many of us used this opportunity to try a new technique. Here are a few that I liked, which turned out to be the three most popular as voted on by the guild members.
3D Lily
Sashiko Hexagons
Blooming Sunflower
(2015) This year’s challenge quilt was to use “neutral + 1 color family + zinger”. It was again interesting to see how people interpreted those “directions”. This was one of my favorites.
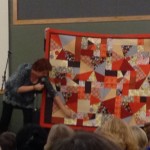
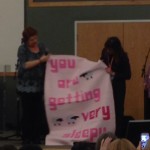
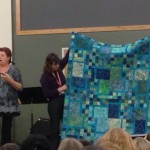
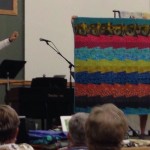
(January 2015) This month, Portland quilt maker and artist Sam Hunter brought a trunk show and words of wisdom to inspire our guild members. I bought one of her patterns and enjoyed the variety of her quilts (colors, types of quilting, “crap backs”)
Sam Hunter explaining her quilt
sample of Faster Fourteen
(Fall 2014) This month, Karla Alexander visited the Westside Quilt Guild. Her studio is in Salem, so I’ve seen her work over the years. She is known to be a good teacher, so I’m really excited to sign up for her class in September. At the meeting, she showed many quilts from her new book Stack, Shuffle, and Slide as well as some other quilts from previous patterns/books. I choose two that I like most to buy a pattern for the upcoming class (and borrow the rulers needed). I hope to choose some charity fabrics and donate the quilt when it’s completed.
Marco Polo
I really liked a few other of her quilts, and appreciated hearing how she decided colors/rulers to use plus pointing out the shape of the “block”.
Churn Dash
She included a bunch of wise quilting advice in her presentation:
“I am the boss of my quilts.” meaning that you get to decide the colors, shapes, techniques to include. If you don’t like something, it’s okay to change from the pattern to make it yours.
WRAP “wonder, reflect, appreciate what you’ve done, pause/plan/ponder your next project”
Modern quilts include techniques like “upsetting the grid” meaning that things could be set on their side or at angles that are unexpected. Floating blocks and using the background as a design element also create a more modern look.
Also at this guild meeting during show and tell, I showed my ladybug quilt! There was also a presentation to the previous board president of a collaborative quilt (my block is one of the yellow ones). Also, I made two of the star blocks for the free BOM this time in hopes of winning the stack (someone else won this time though).
Ladybugs finished
July Stars from the guild members
Barn Quilt
I also visited the Portland Modern Quilt Guild. A woman I met at a garage sale encouraged me to attend and a friend who quilts came with me. Turned out there are quite a few women from the Westside guild who go there too, so many of the show and tell quilts were familiar. Here’s a few others that I liked (sorry for poor photo quality):
looks like the Marco Polo quilt
creative use of strips and focus fabric
like the setting of pinwheels and color
from selvages
medallion quilts
I was impressed by the projects by this group, but the organization of the meeting wasn’t comfortable for me. I didn’t feel welcomed as a guest and the updates about things focused on website updates and/or key things that only members would know. There were some quilts donated to an organization but no description given so I had to google them to figure it out (Camp Erin serves kids/teens who are grieving). I was surprised that some of the donated quilts were dreary colors and/or patterns that didn’t look like teenagers to me. Again, maybe working in middle school I’m more tapped into their style. Overall, I think I’ll look online at the PMQG blog for pictures of projects but not make the long drive over to their meetings.
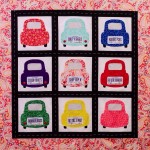
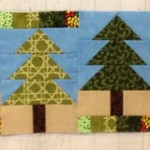
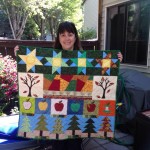
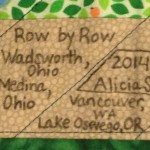
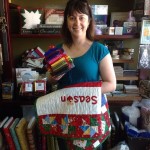
This shop hop, the Row by Row Experience, is nationwide and quite simple. Just visit the participating shops and ask for their free “row by row” pattern. The theme is “seasons” so it might be holiday themed or use the four seasons tree fabric provided by the sponsors. Some shops offer a kit for purchase with the fabrics needed to make it in their color palette. Many shops are also selling license plates with funny fabric/sewing related sayings. I’d like to collect one from each state I visit this summer.
Here’s a few of the blocks I collected in Ohio (pictures courtesy of the shop’s website or from my visit):
Wadsworth, OH
Akron, OH
Medina, OH
example how to use license plates
When I returned to Oregon, I collected another few row patterns and started work on a wall hanging using 8 of the blocks. Since I only bought the fabric pack from two shops, for the rest I used stash fabrics or picked up fat quarters to fill in sections. It was fun to practice some new techniques, like the fusible applique.
Little Red School House row
Just for Fun Quilting row
Holly Hill row
Pine Needle row
Quilter’s Corner Store and Sandra’s Stitches row
Fabric Peddler row
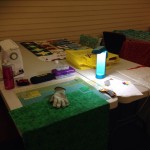
Also, I used a new technique for basting (not pinning) the quilt that mom taught me using two boards to mimic a quilt frame. It worked really well! I also figured out that it would look nice to quilt with two different threads and using diagonal lines since the rows didn’t line up front to back very well. Here are a few more pics of the process:
set up at Piece and Quiet
auditioning fabric placement on row from Tea Time Calicos
basting technique
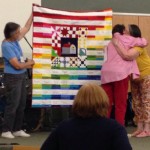
After a few nights up until midnight sewing, I turned in my finished quilt for the prize at Quilter’s Corner Store. 25 fat quarters in a rainbow of colors ready for inclusion into new projects and 2 yards of anything in the shop (I bought some beautiful batiks for an upcoming quilt project! Tea Time Calico also generously gave me a free yard of fabric for including their row in my final project. It’ll be fun to show the final project at the September WSQ guild meeting.
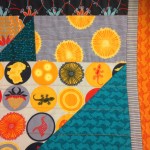
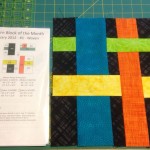
I received patterns for a modern quilt block of the month from our Sewing Saturday group. They got permission to distribute this collection of patterns from the Knoxville Modern Quilt Guild. The other women have already started, which leads me to think about what color palette I want to use.
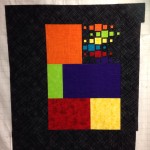
I decided on my fabric collection for this modern BOM. I’m intrigued by Amish style quilts with the contrast of black and solid color, so I’ve taken that up a notch to become more modern. Bright, saturated colors and a black/gray print background are going to pop! Thanks again to Deb at the Quilter’s Corner Store in Beaverton for her advice about fabric selection.
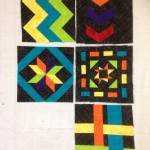
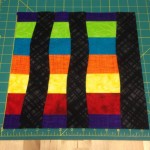
The January Block created an illusion of woven strips. Making the February Block was my first time making chevrons, using paper piecing for precision. Then for the March Block, the center block wonky star is from another online tutorial. I like how the colors I chose turned out looking like the sun.
Janurary Woven Strips
February Chevrons
March Star with Filmstrip
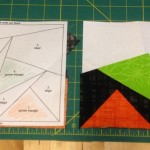
(3/15) Last night at the Sewing Friday in North Plains, I cut up the fabric for a few more blocks, and today finished sewing three of them! A paper piecing block is also started. I decided to color on the paper pattern to make sure I get the colors in the position I want (so it doesn’t look like a rainbow but includes all 6 colorful fabrics).
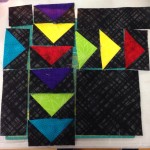
Two on the left are newest
And tonight, a third new one is complete
Paper Piecing beginnings
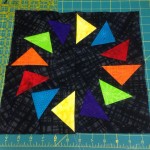
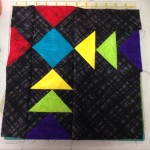
(3/16) The flying geese around in a circle block is complete now. I think this is my favorite block so far. Hopefully I have enough fabric at the end to make another one like it for a table runner project. I’ve started planning the next paper piecing block and asked Aaron to color in the pattern. It’s a helpful way to see how the block will look and plan out where to put all the pieces.
Flying Geese in a Circle
Coloring the paper pattern
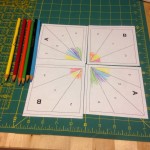
The Color Wheel
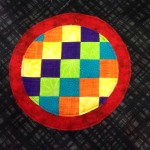
The next block is made with 25 2″ squares, then I need to figure out how to cut out a circle and then set the circle on top of another circle (red fabric) and then both on top of black. To make the grid, lining things up carefully and strip piecing made it a quicker easier process.
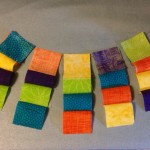
Chain piecing and careful ironing
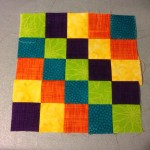
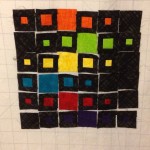
Center Grid
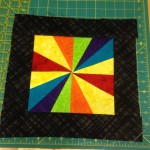
Raw Edge Block
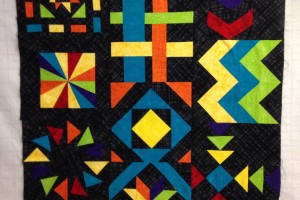
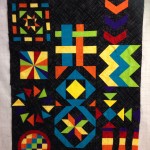
(5/25) The final few blocks are now complete! Next step is to decide about how to connect them into a quilt top. The challenge from the guild is to have it ready to show in September.
Geese as the pattern described
My interpretation of the block
Diamond Block
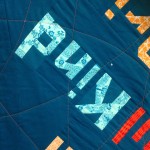
Pixel Block
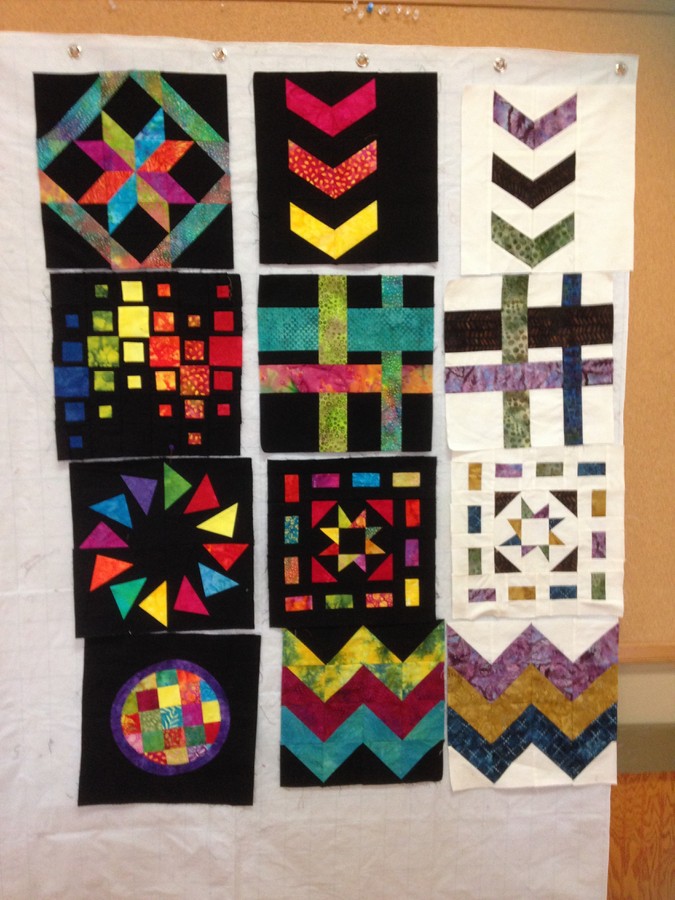
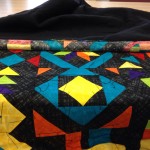
Now that all the blocks are finished, time to put it all together and create a back. At the September Sewing Saturday, I finished placing the 12 blocks, 11 on the front and one on the back with some scrap pieces. At the October Sewing Saturday, it all sandwiched together with black batting (purchased off the roll at Sharon’s Quilt Attic). I used a technique my mom showed me on youtube that uses two boards to provide the tension to flatten it out and not need pins. Instead, it’s basted with black pearl cotton and ready to machine quilt, perhaps I’ll practice free motion quilting.
When sewing, it’s nice to have something nearby to catch threads…keeps the sewing area (and your clothes) a little less covered in random threads. I found a free pattern on Amazon for the kindle to make a Fairytale Pincushion and Thread Catcher. During the shop hop, I found the crushed walnut shells for the inside of the pincushion as well as a mini-charm-pack of squares for the patchwork fabric design.
Each month at the Westside Quilt Guild meeting, there’s a free BOM (block of the month) pattern you can pick up to try. If you make a block (or two or three) using the pattern and bring it back the next month, there’s a drawing and one person walks away with all the blocks. I like participating when it’s either something I would like to win, would teach me a new technique or block style, or is a color scheme I already have in my stash. My goal is to only use stash fabrics to complete these blocks.
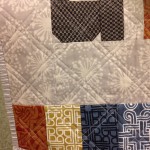
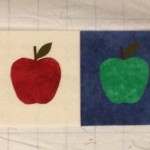
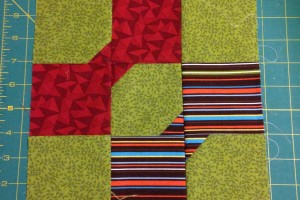
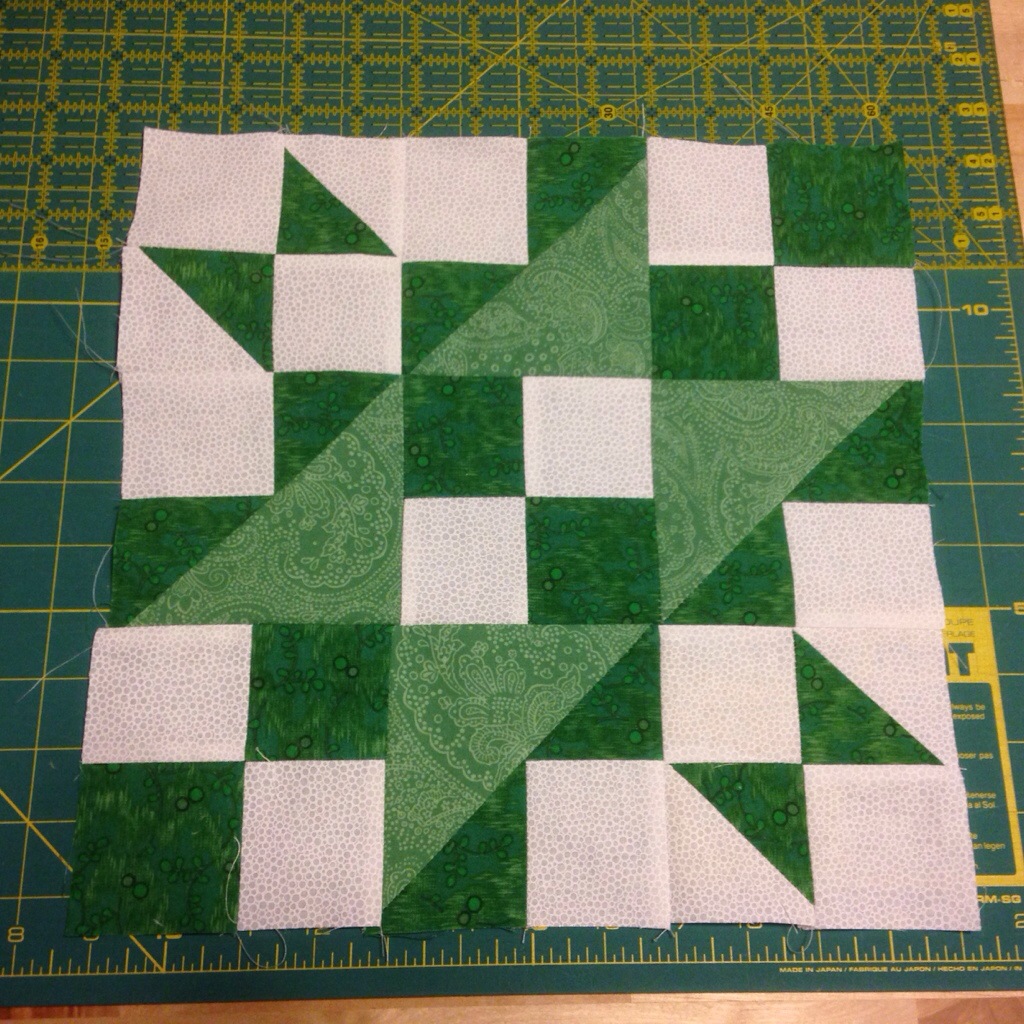
At the Feb 2014 meeting, I picked up the Rocky Road to Dublin block, published by The Quilter’s Cache by Marcia Hohn. Her website offers lots of free blocks that guilds and others can use to learn traditional block designs. We were asked to use dark green, light green, and white on white fabrics. Here’s how my block turned out:
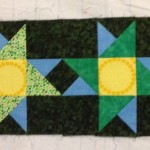
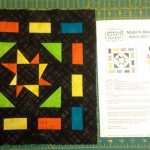
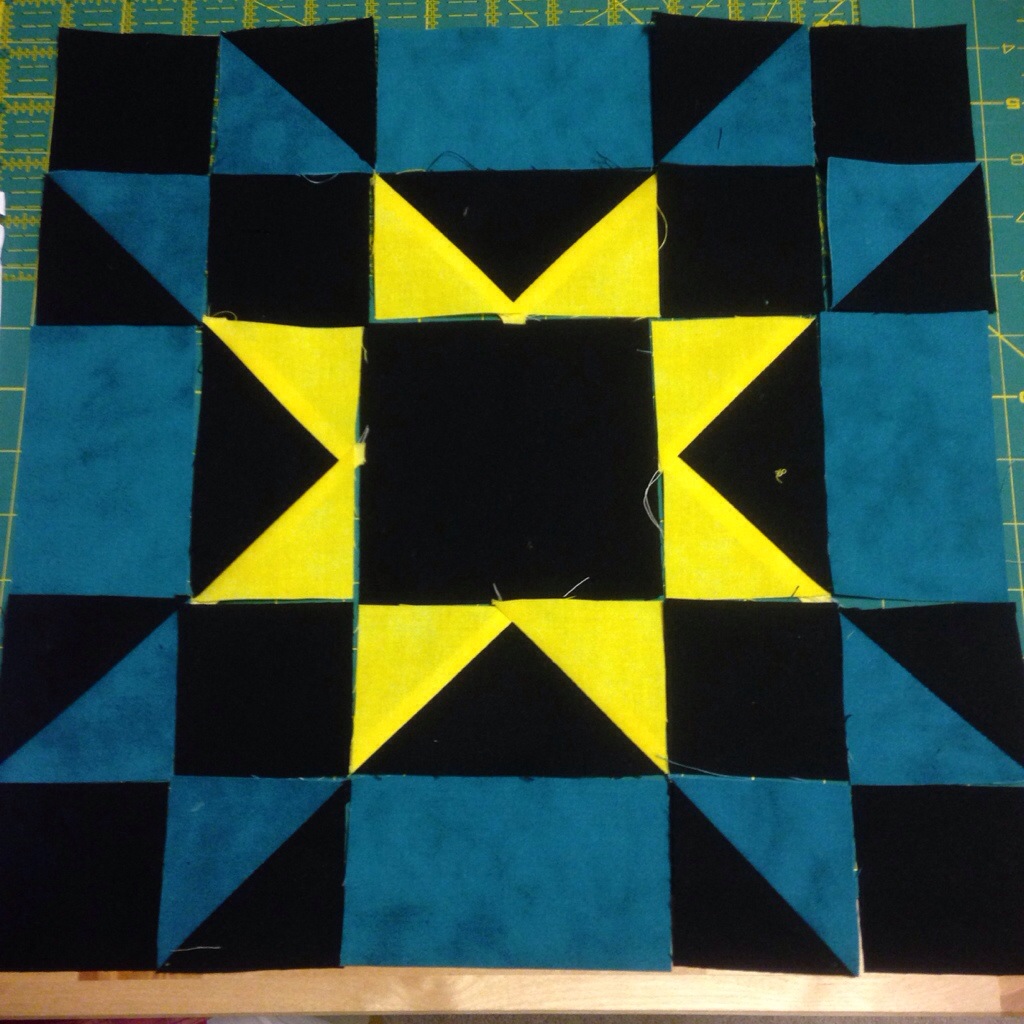
Next up is an Amish quilt block. Amish style quilts remind me of visiting my grandparents in Ohio who live near enough to an Amish community that we often visit the shops and restaurants there. The plain bright colors contrasted with black background is a very traditional look. We were asked to use black background, bright yellow star, and another bright solid for the other parts. Thanks to Deb at Quilter’s Corner Store for the fabrics. I like the puzzle piece part…make the components and then line them up like in the picture before sewing into rows and rows together into the block.
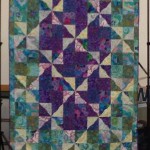
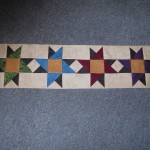
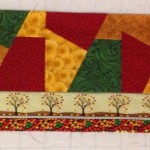
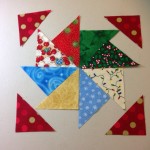
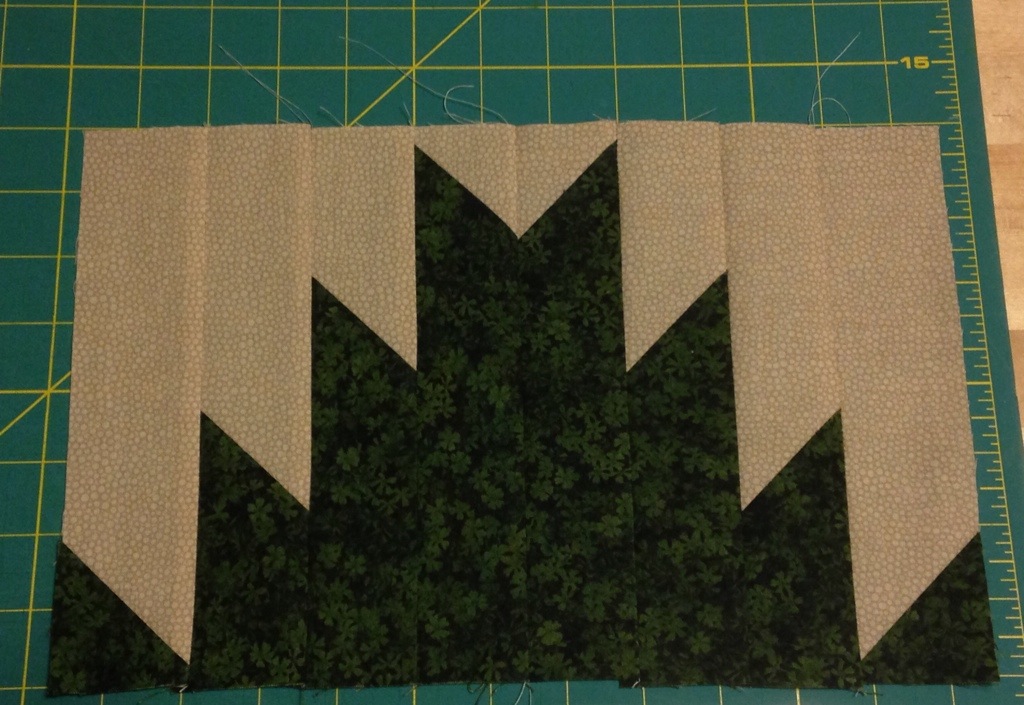
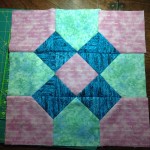
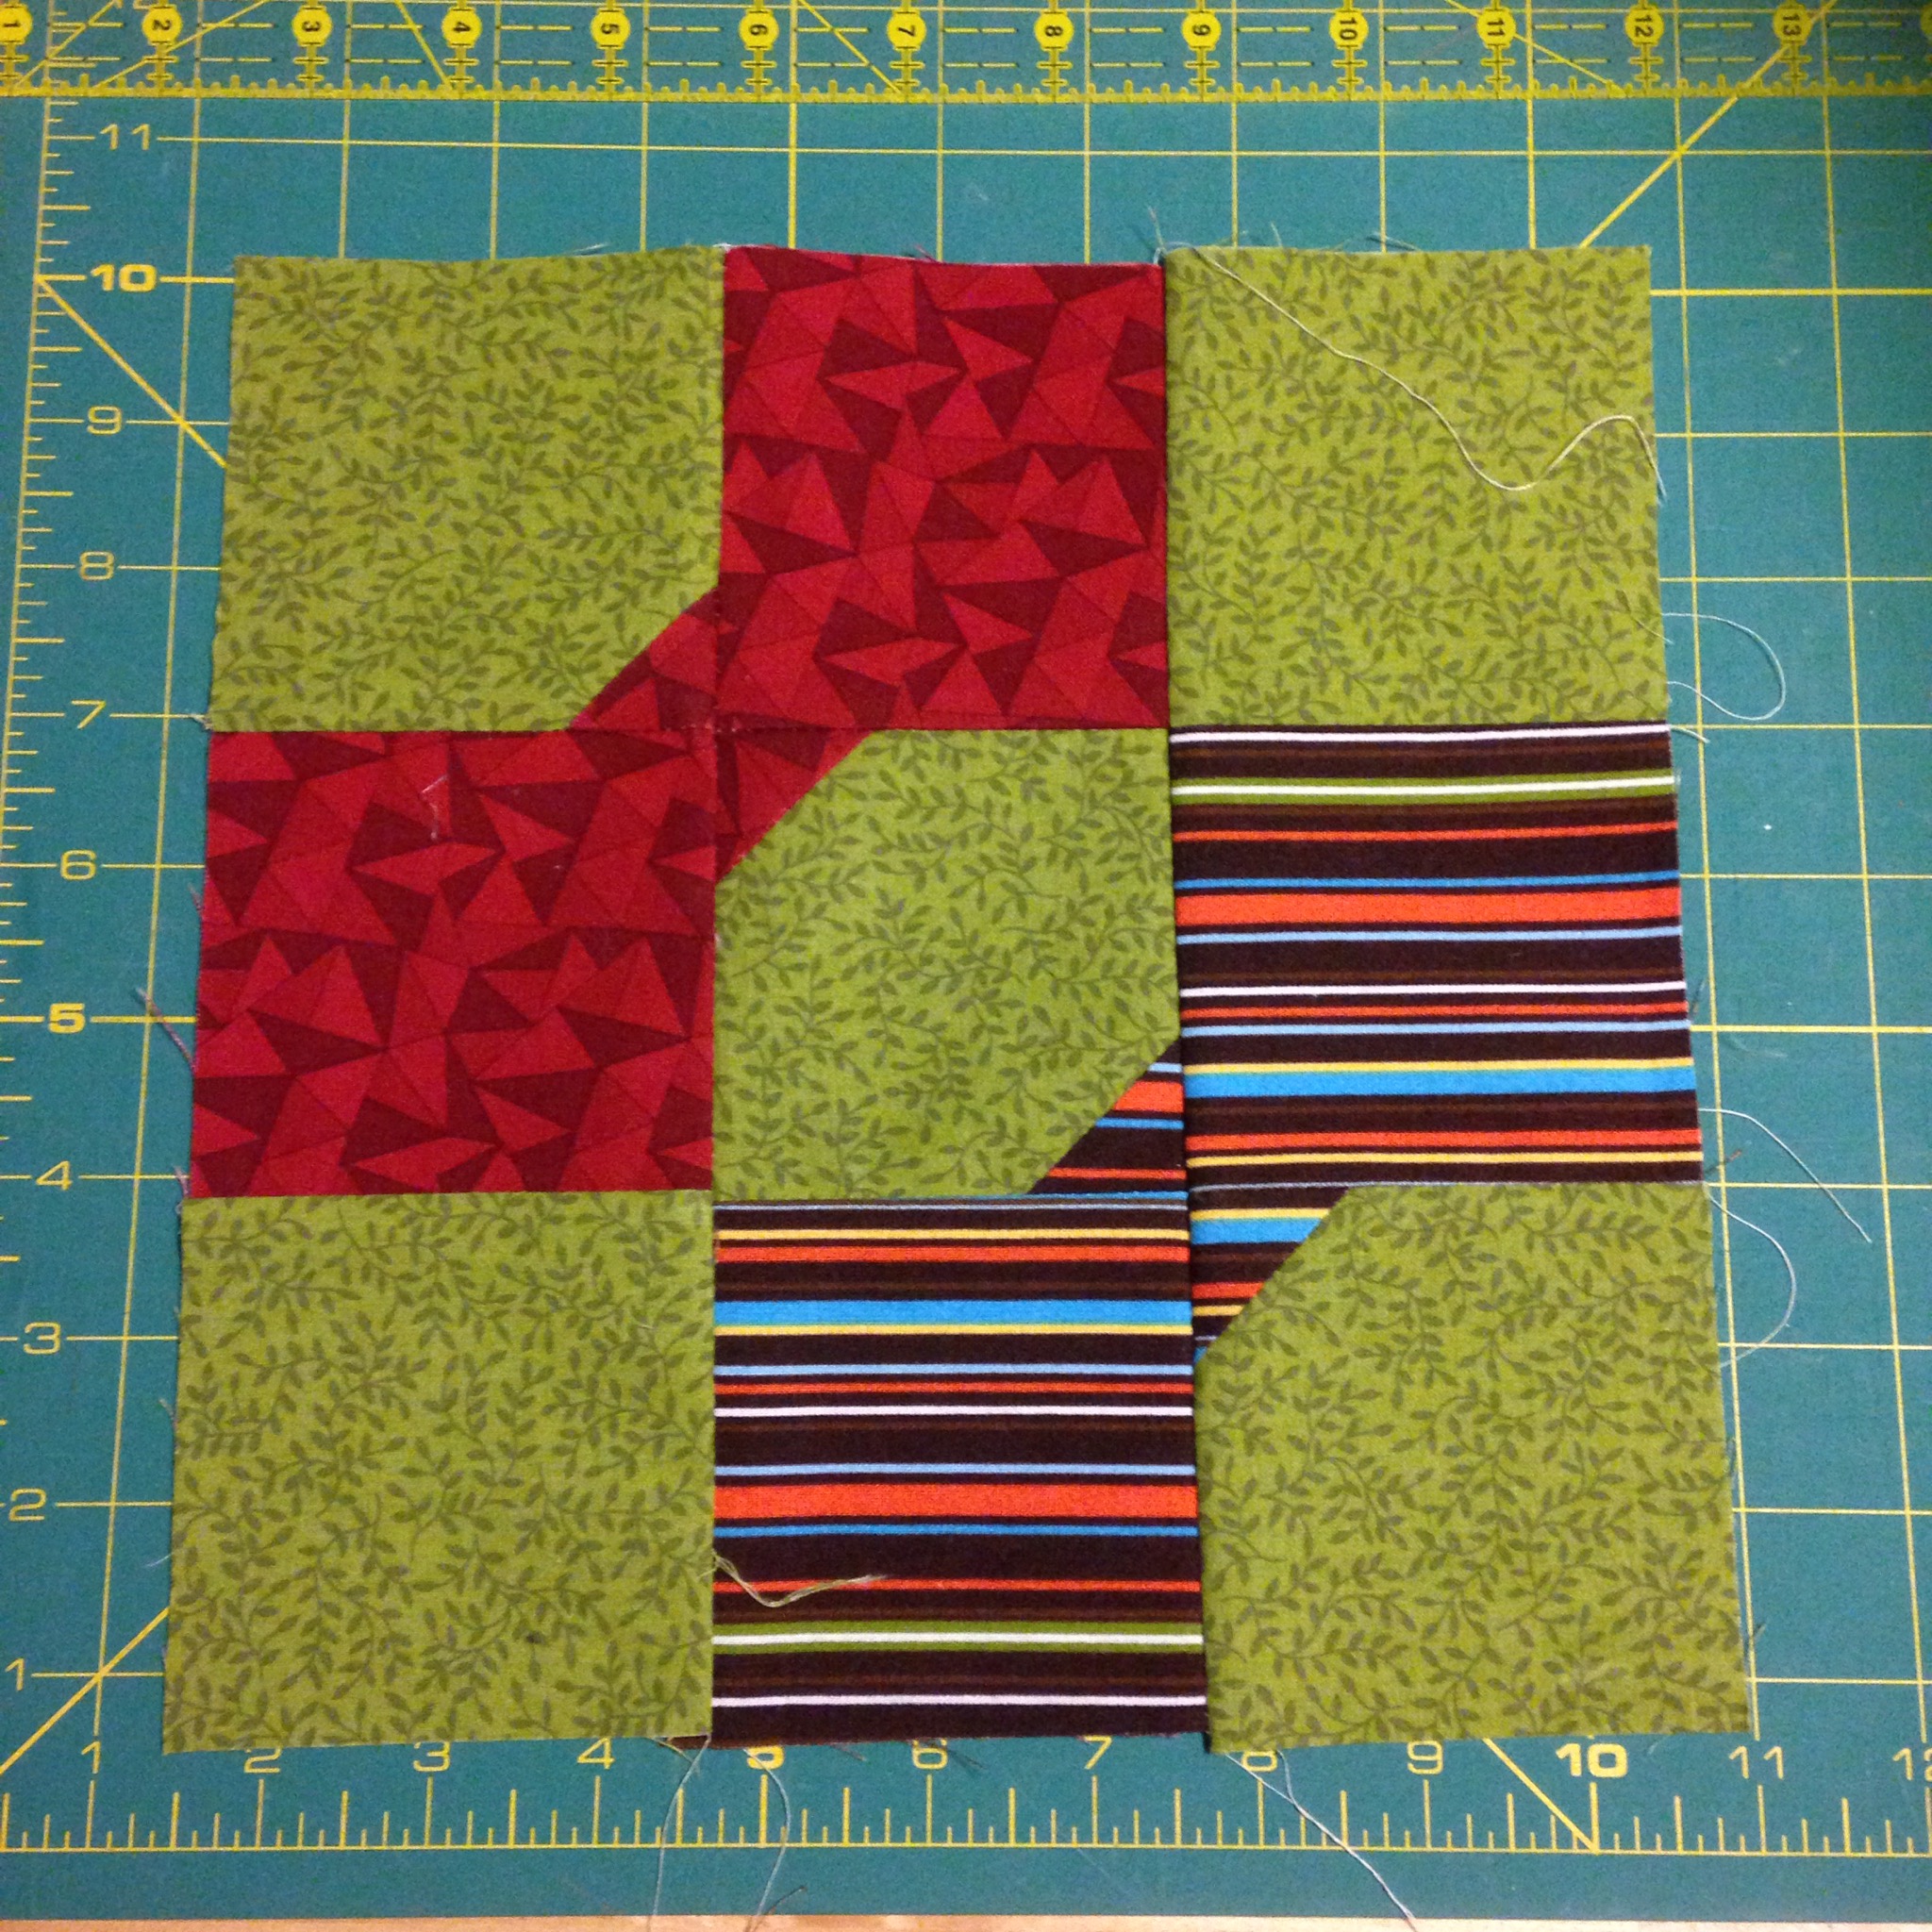
For the June 2014 guild meeting, we’re making Scrappy Mountain Majesty blocks in white/cream/tan and blue/green/brown color palette. Here’s how mine turned out (second try after a mistake measuring on the last step). I like how easy the block was and only one matching seam. Also, it’s fun to be able to find pieces from my stash to use for these blocks. Wonder how they’d all look placed together in a quilt? Looking at the pattern maker’s explanation, maybe I wasn’t supposed to sew the halves together. I suppose whoever wins the batch can decide how they want to arrange all the blocks.
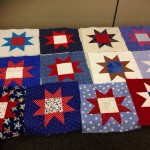
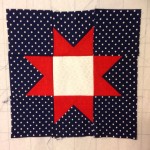
For July, it’s a 4th of July Star block in red white and blue (the photo doesn’t show well the tone on tone but the polka dots pop!) This one would be fun to put into a patriotic quilt or table-topper. I ended up making two of them to add to the stack at the guild meeting (but I didn’t win yet.)
July Star
July Stars from the guild members
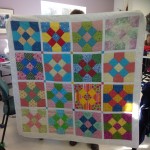
Here’s the one for October’s meeting and check it out included in a charity quilt that the winner of all the blocks that month created:
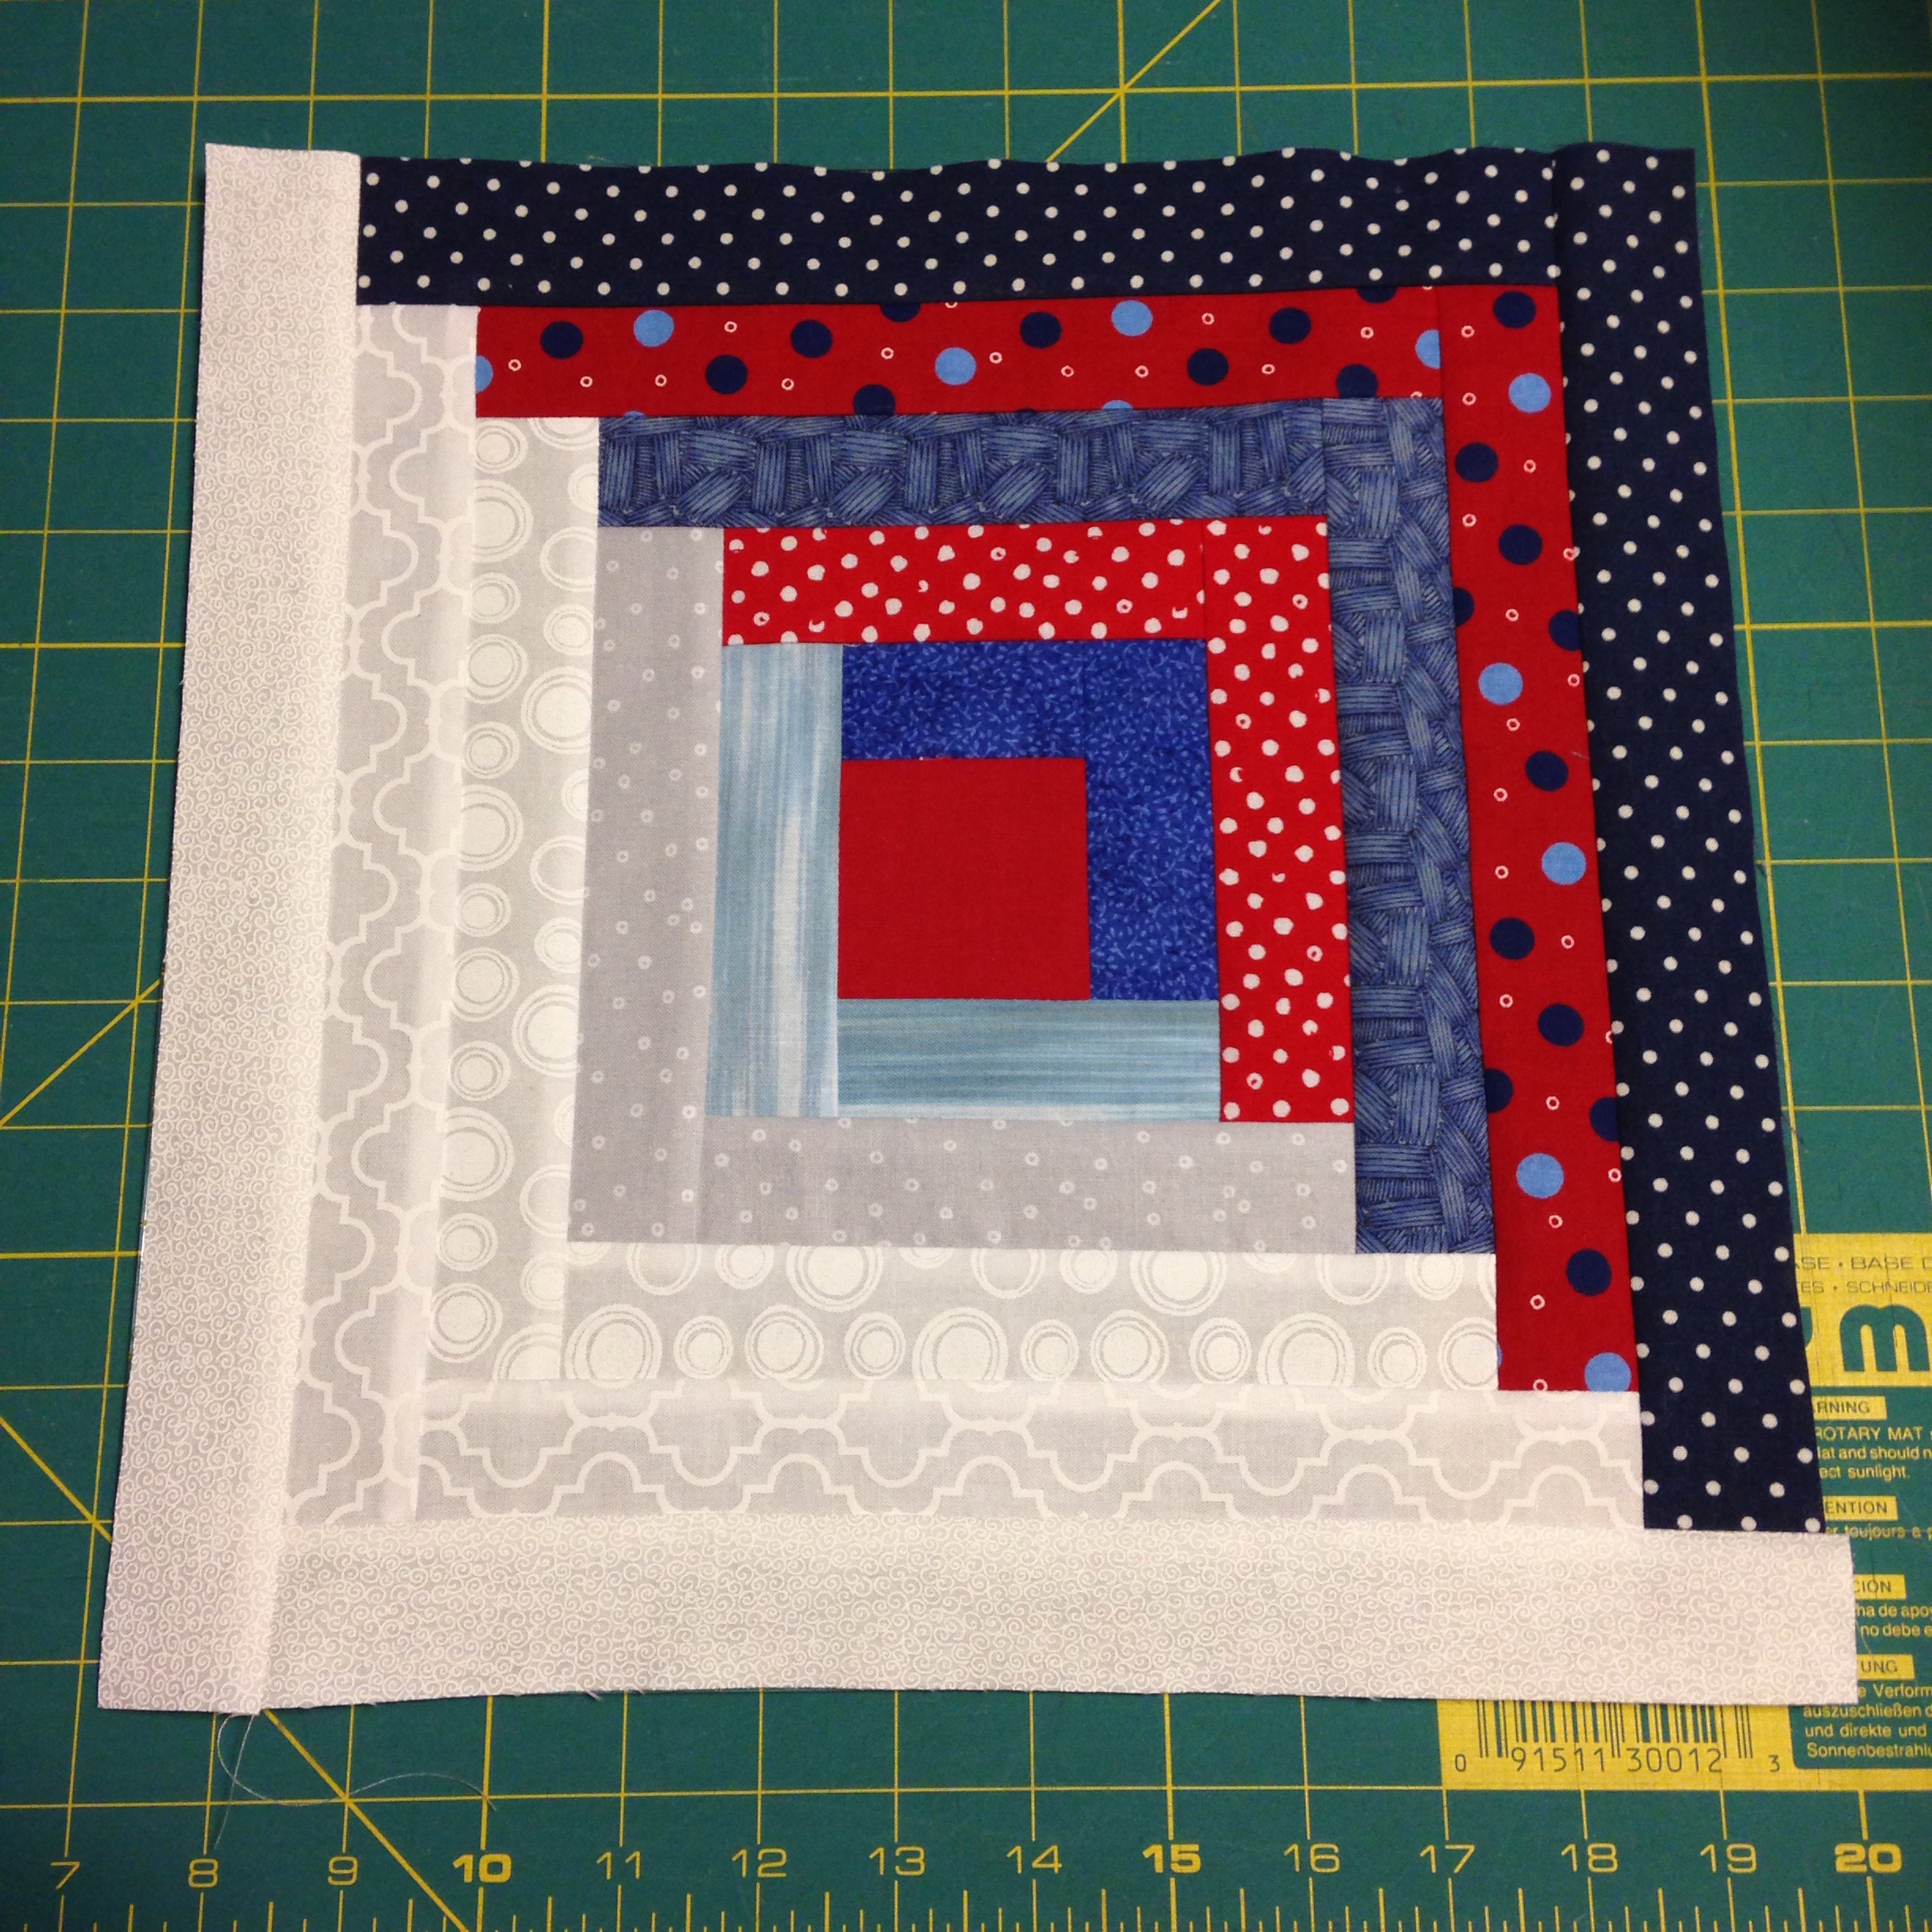
In April, I made this block — first time trying a log cabin!
Here’s the block for May. Not my favorite color combo, but using all fabrics from my stash.
And the pattern for the one for June is at this link http://www.azpatch.com/bom/bom2002/08aug02/bom02aug.htm. We’re to use white on white and a bunch of bright colors, so I’ll see if I can get that done in time for the June meeting.
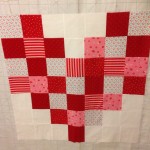
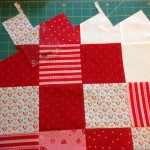
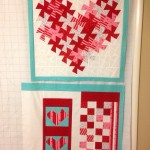
I’ve been wanting to create some sort of Valentine’s day wall hanging for decoration and/or a table runner for the top of the piano. Also, mom gave me the Lil Twister tool and book, so thought I’d give it a try and make the heart pattern. Enjoy the pics!

 The first “clue” is to make about 40 triangles using a new ruler (thanks to coupons and teacher discount). The birds are a directional fabric, but since I don’t know what the final project will look like, I’m not too concerned…in fact I think it will look great, like they’re flying all over the place!