Category: Creative Process

Graduation Quilts

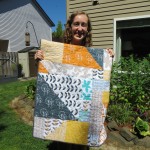
This year, I made two quilts for high school graduates.  Lauren, a long time family friend, is going from Glencoe HS to Oregon State.  Katie, our oldest niece, is going from North Medford HS to Southern Oregon.  Both girls have played soccer in high school and are really great people.  They do have different personalities though, which I wanted to reflect in the different quilts.

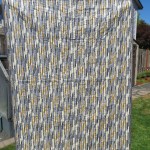
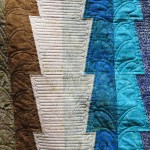
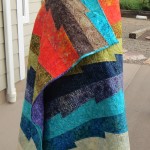
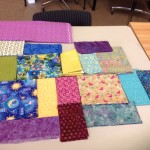
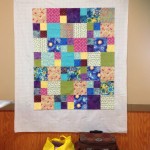
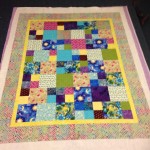
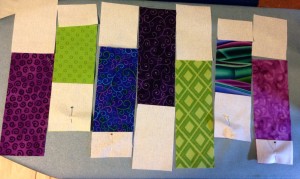
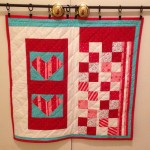
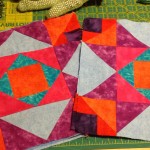
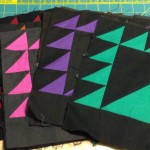
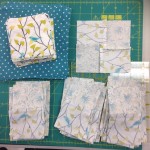
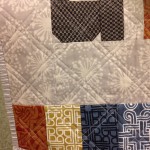
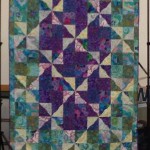
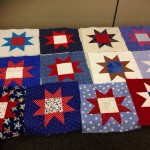
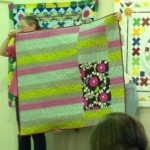
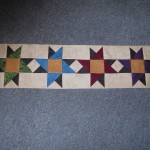
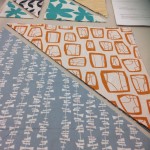
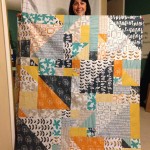
For Lauren, I chose to use a package of coordinating fat quarter pieces that I bought on Craftsy.  The modern, fresh colors reminded me of her, even though they’re not her favorite color (purple).

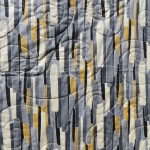
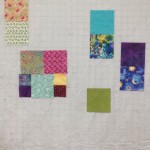
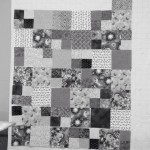
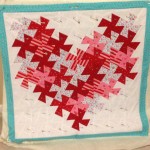
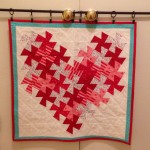
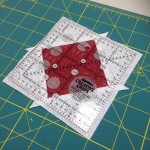
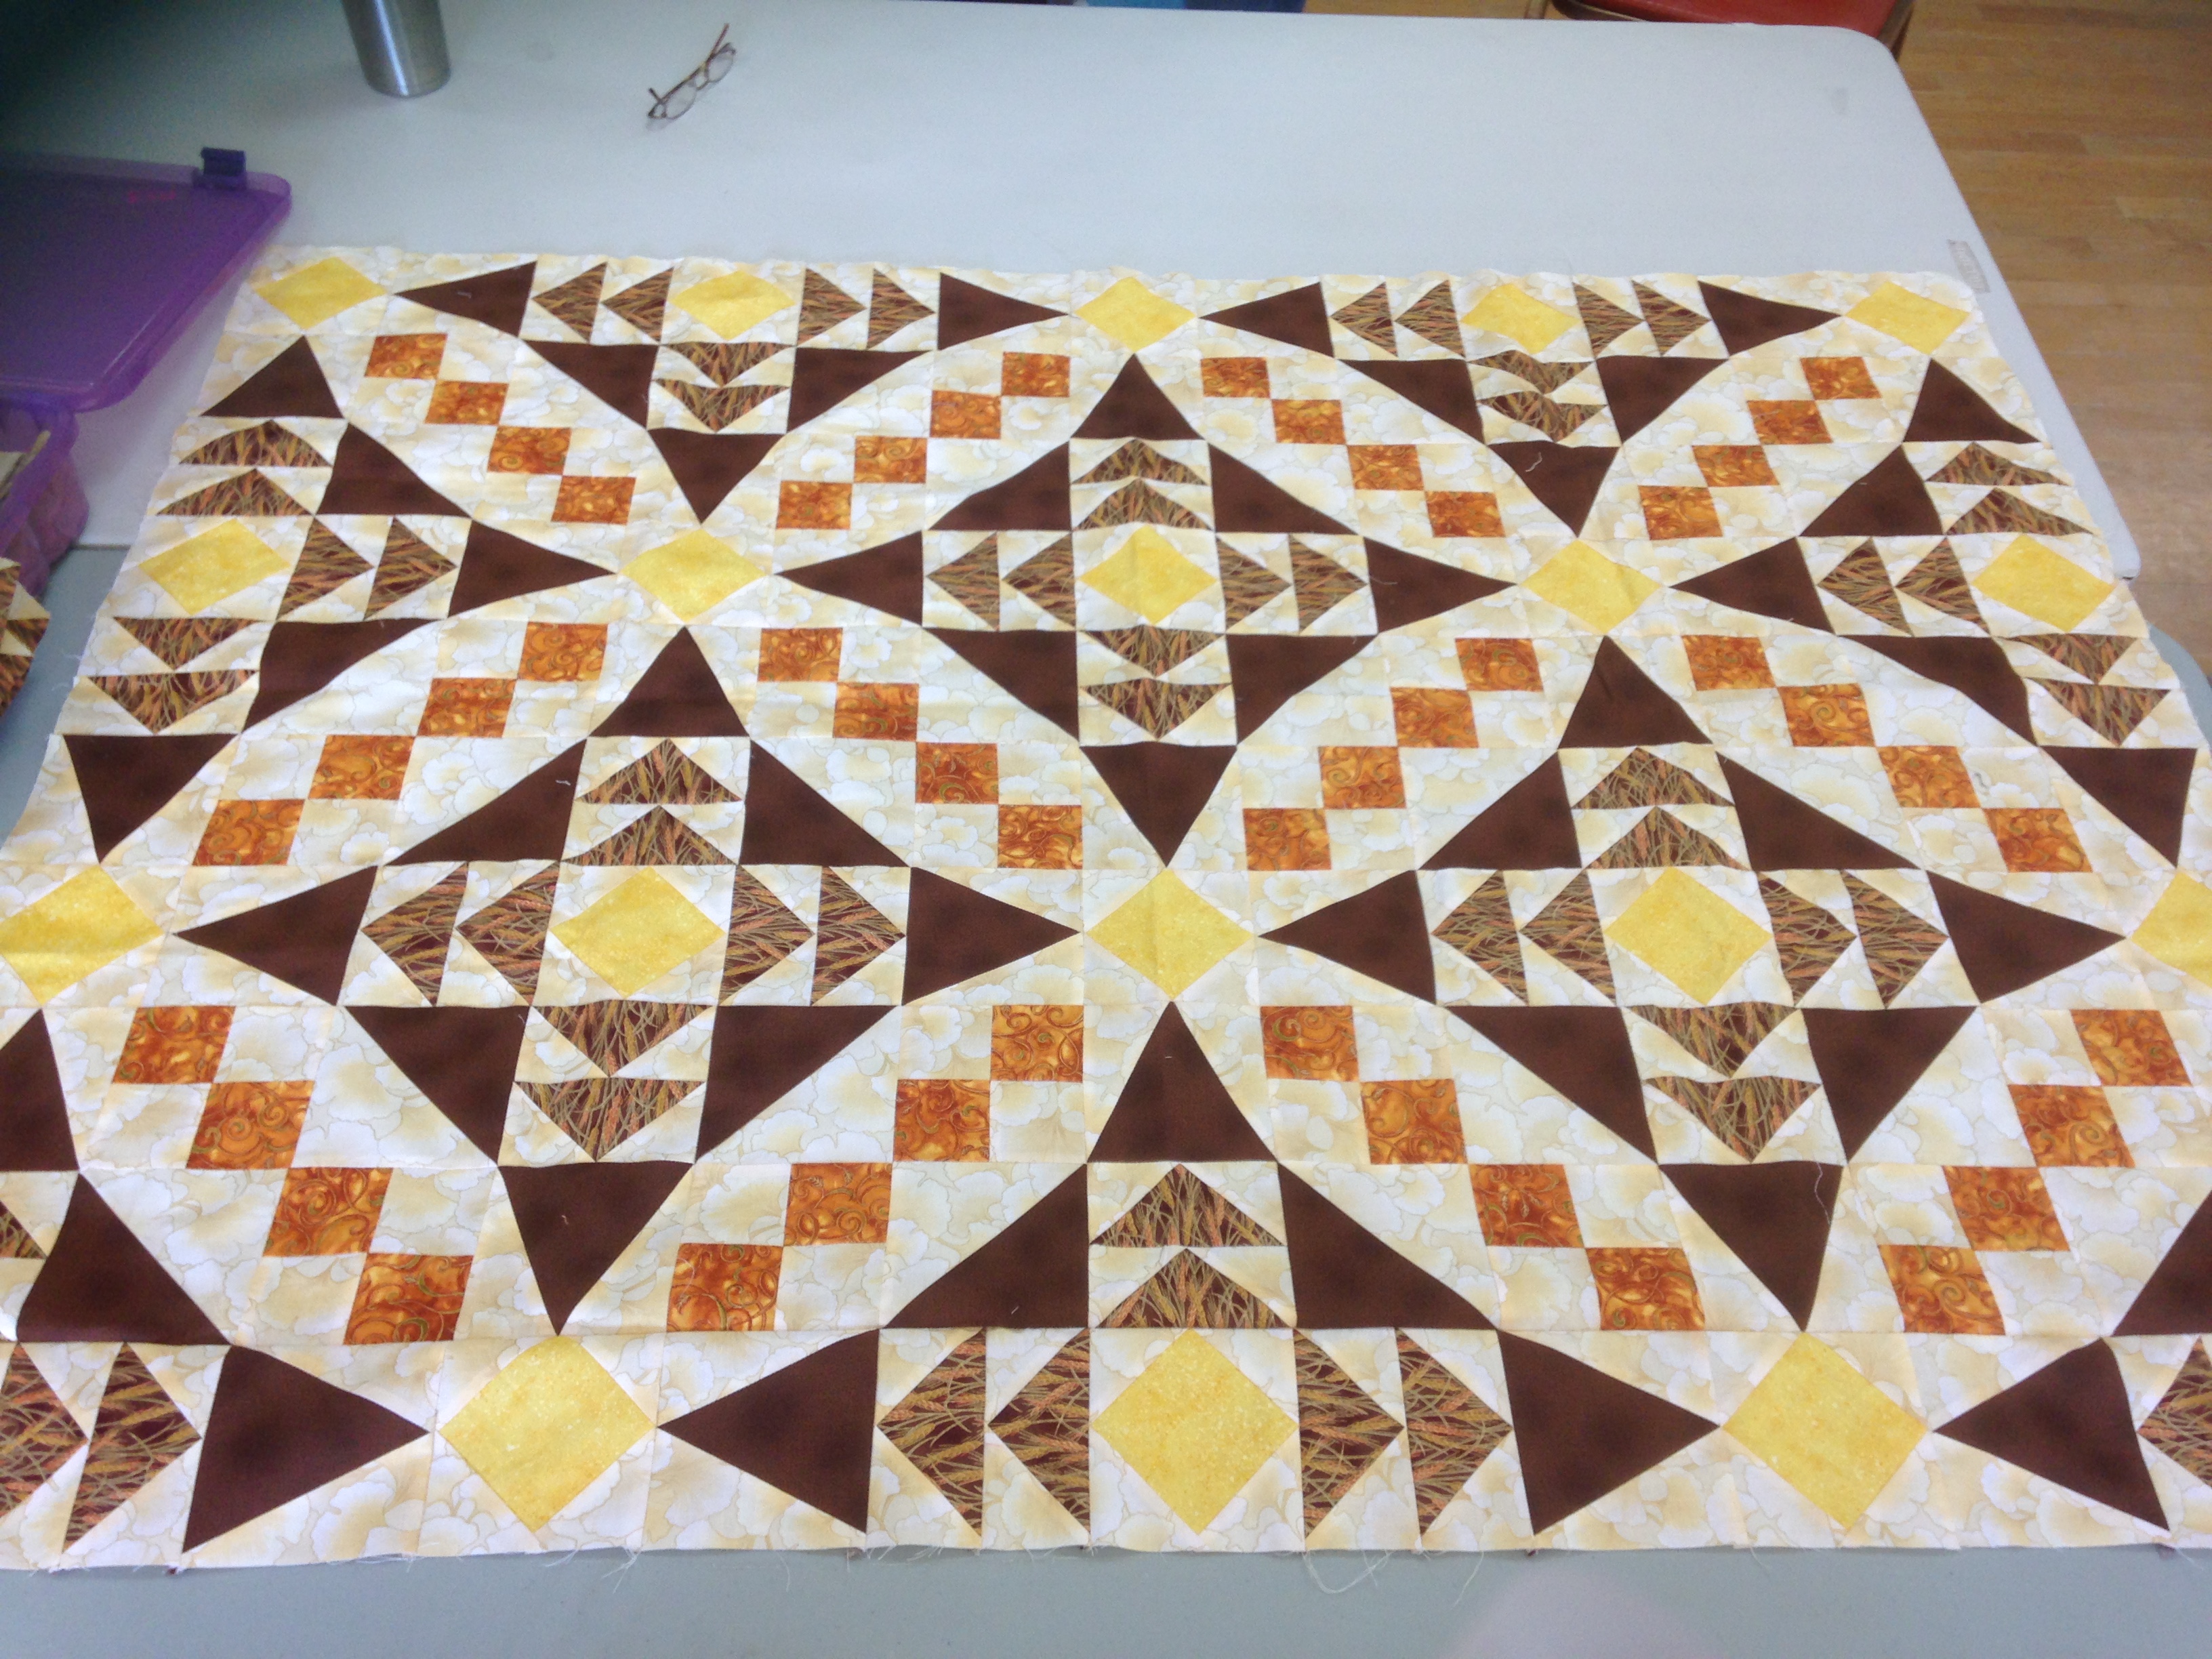
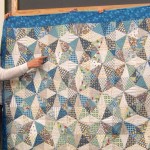
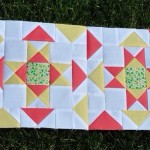
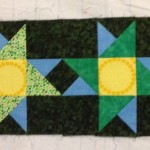
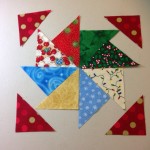
After seeing the patterns from Sam Hunter at a quilt guild, I bought the “faster fourteen” one and put together the 14 fat quarters that I thought would look best. Here’s Sam’s version that she uses on the pattern’s cover.

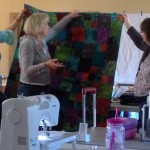
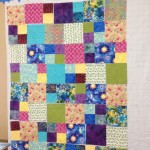
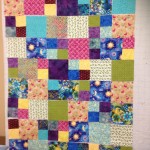
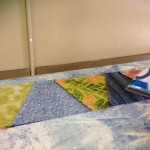
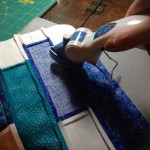
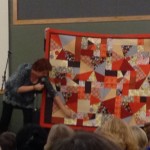
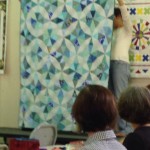
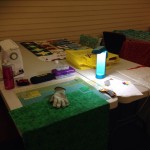
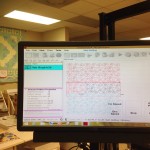
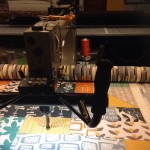
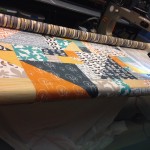
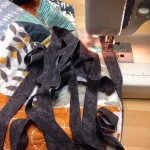
Sharon at Sharon’s Quilt Attic quilted it for me.  She used a new long arm machine that is connected to a computer and we chose a design that reminded me of waves.  It was mesmerizing to watch the quilting happen automatically, evenly paced and quickly completed. She recommended a bright color thread so it’s “less boring” and I do love how the orange pops and draws out the Oregon State colors for Lauren.

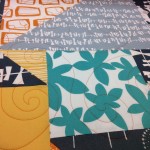
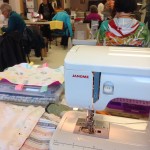
I finished sewing on the binding and mom finished the hand sewing to close the binding and finish the quilt. This top went together in just one day and I love the look of the final product, even though the fabric turned out to be a little busy. It’s definitely a pattern I’ll use again!

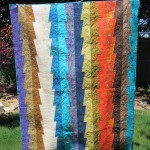
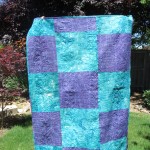
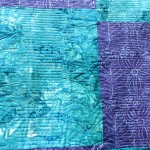
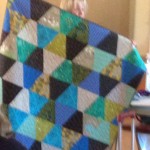
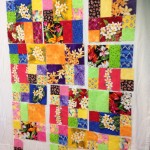
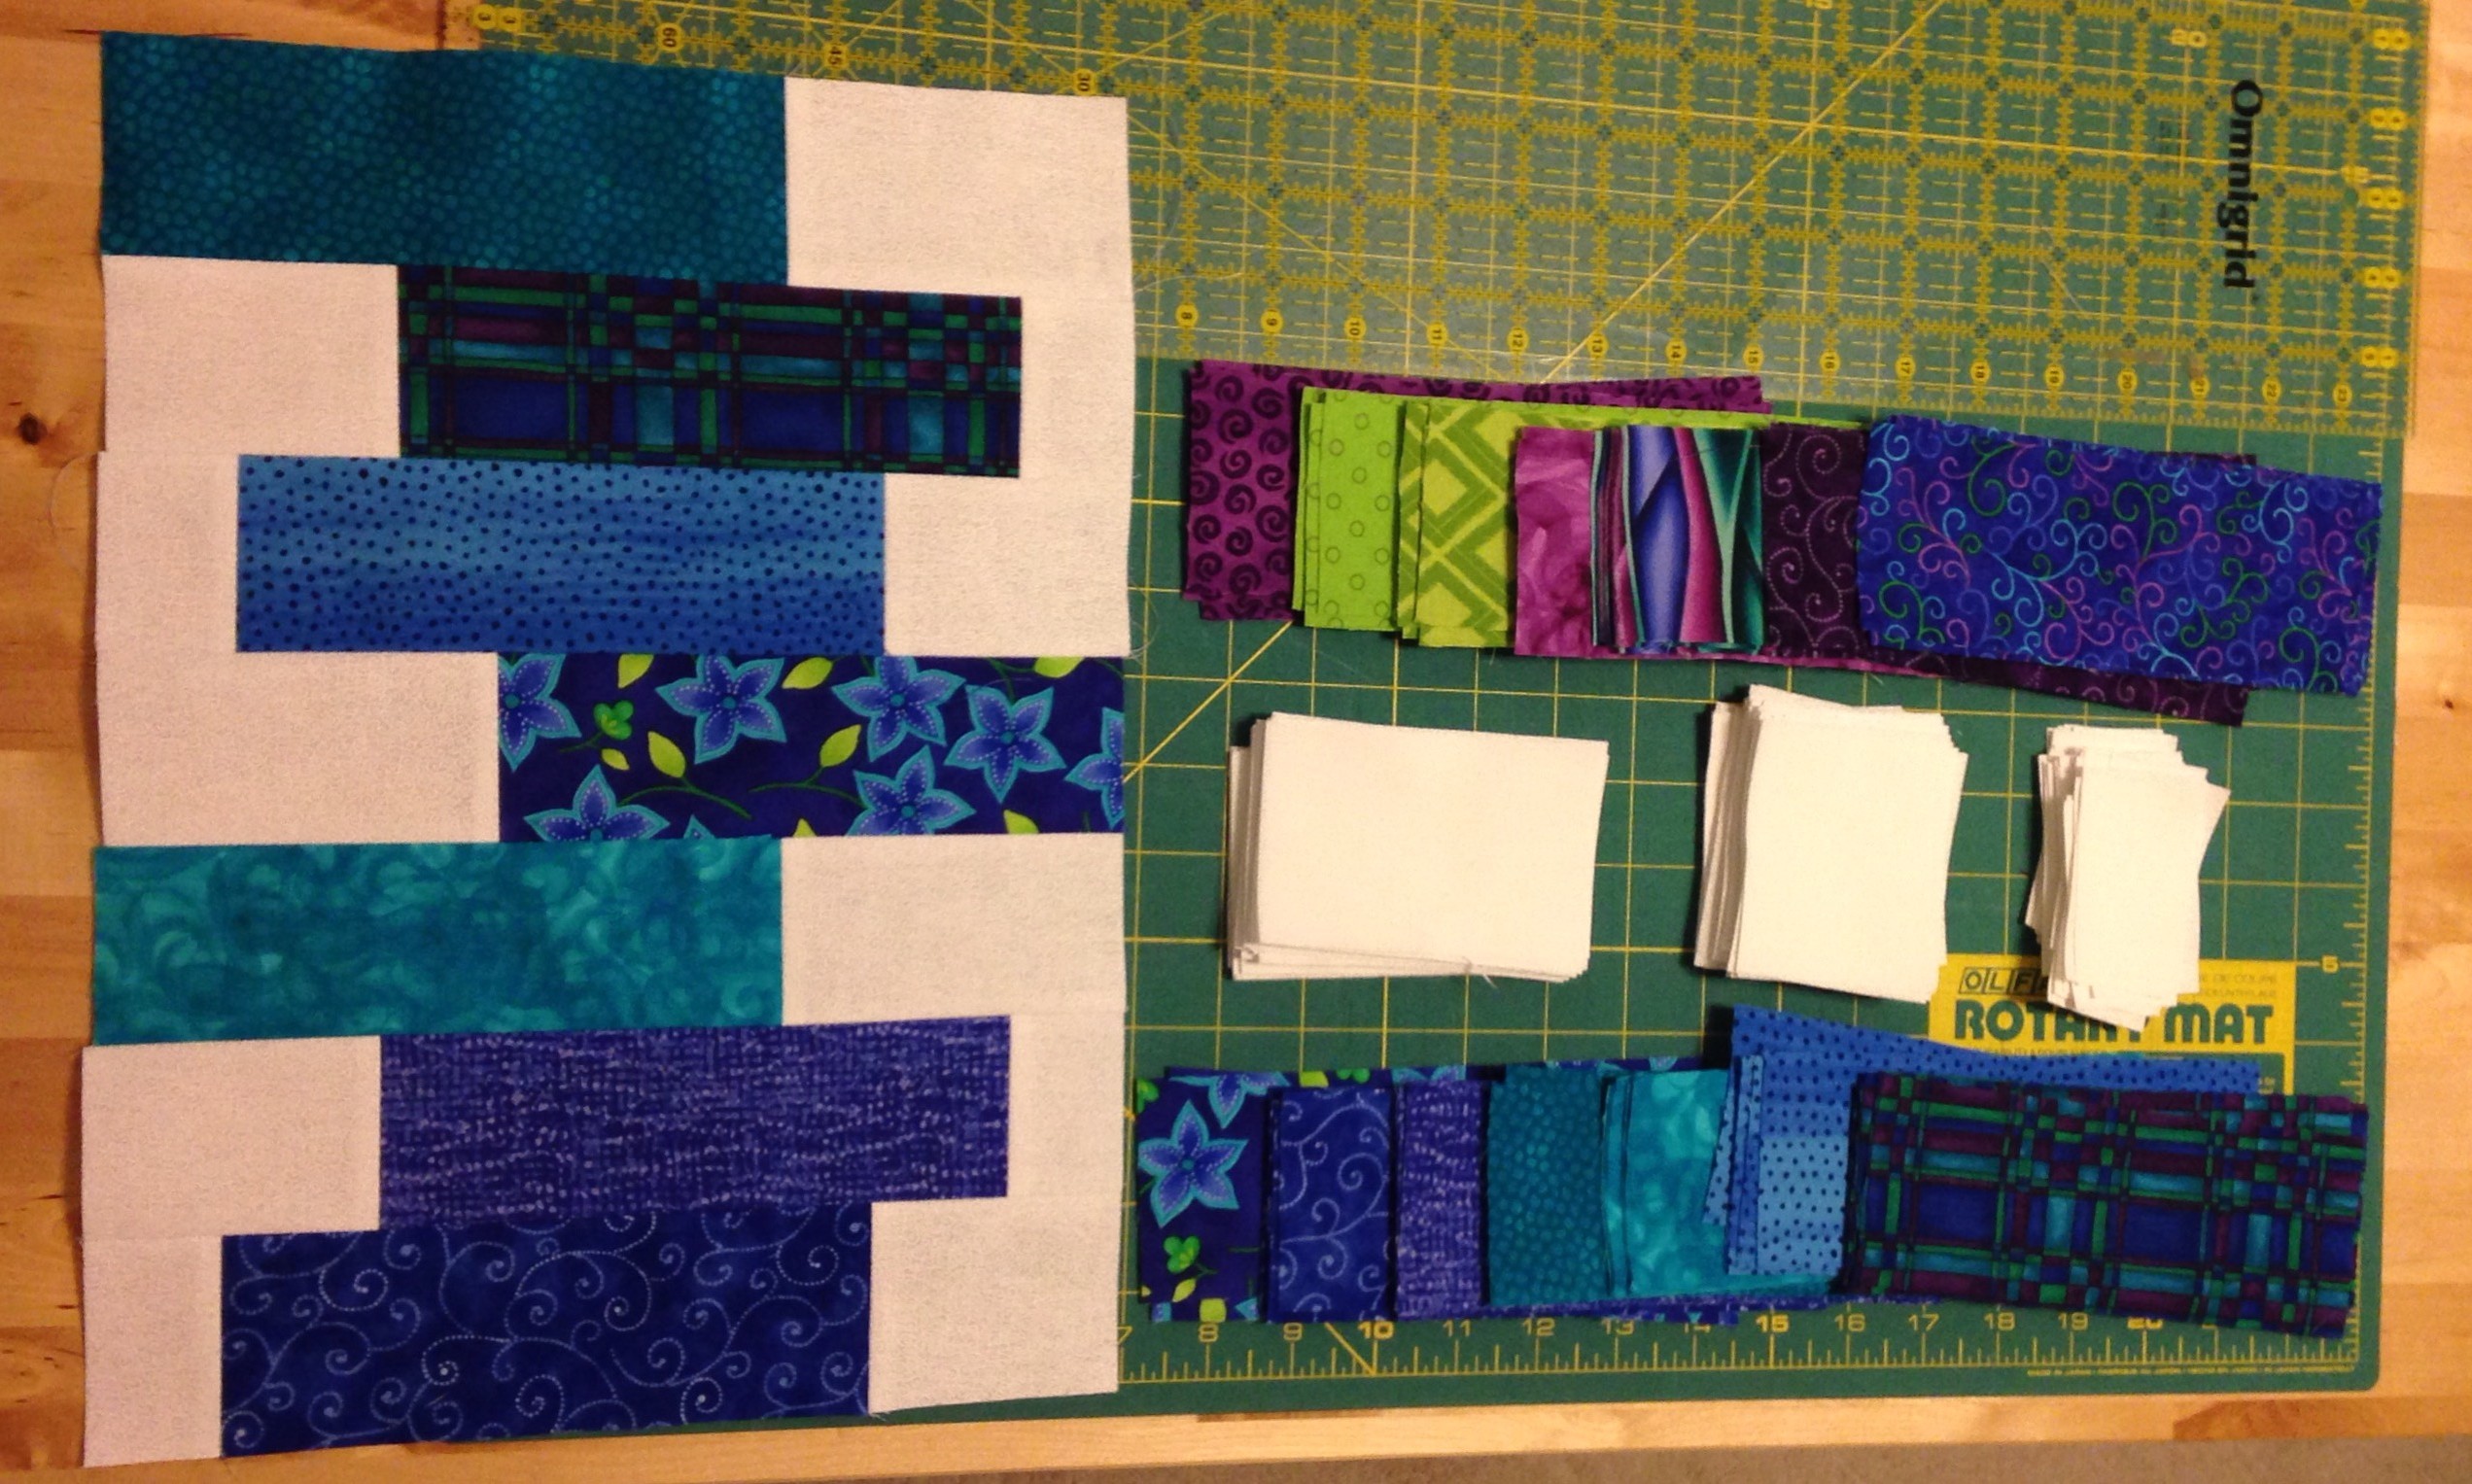
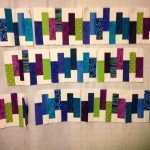
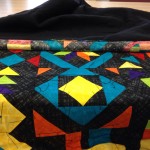
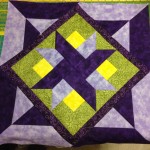
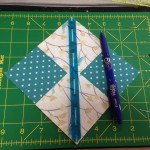
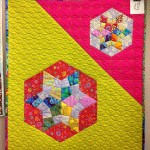
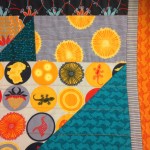
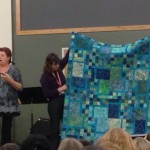
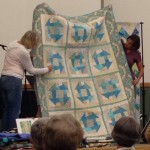
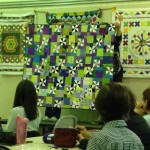
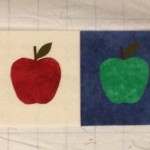
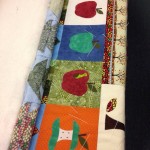
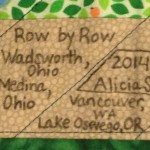
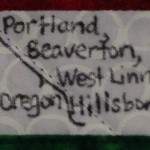
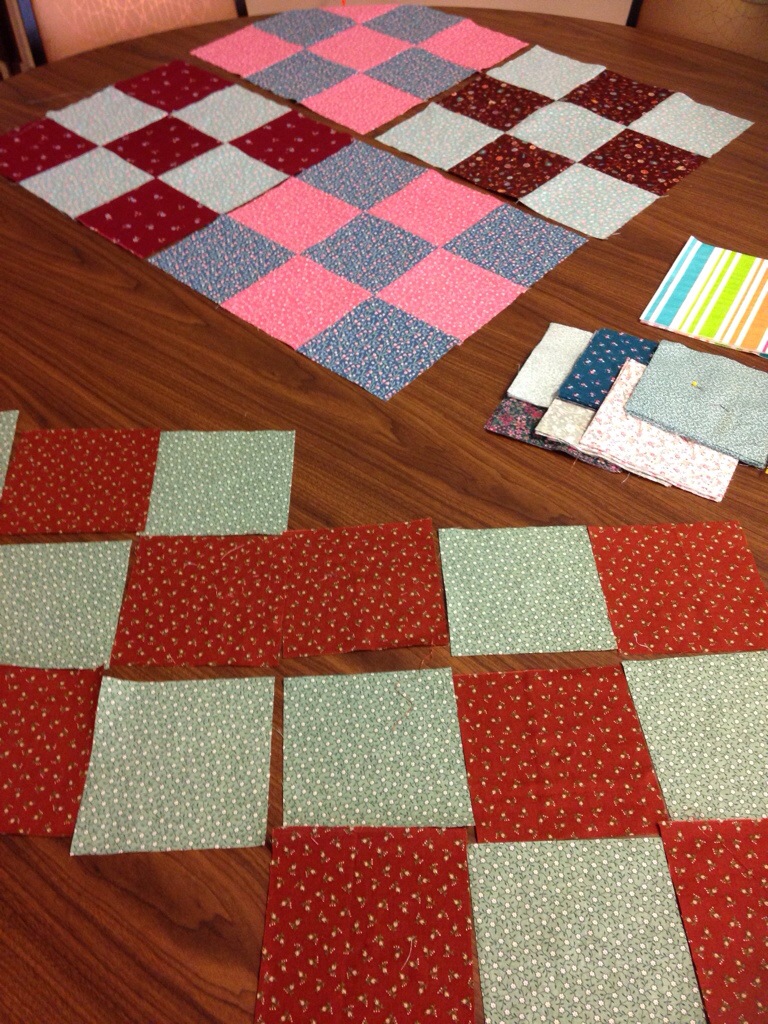
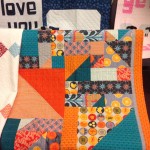
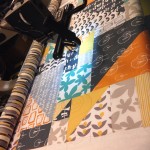
For Katie, I chose batik fabrics.  For her 16th birthday party, Katie had used squares of blue and purple batik fabric from Joann’s for bandannas for the dueling teams of friends and family participating in her birthday “Olympics”.  I asked people to give me their bandannas with the hope of making something for Katie someday.  Then last summer, I won some free yardage at the Quilter’s Corner Store as part of the Row by Row Experience. Deb helped me pick out coordinating fabrics. I think it suits Katie’s mature, calm, friendly nature to have a colorful quilt that doesn’t look like the normal bright kid friendly colors I usually use, but rather something more for a young adult.

IMG_2846.JPG

The pattern is Vice Versa from Karla Alexander.  She is a talented quilt designer and teacher based in Salem, Oregon.  I decided that I want to use this pattern to make a graduation quilt for each of Aaron’s nieces & nephews, but change the fabric to fit their interests or favorite colors.  It’ll be fun to figure out what to do for the others next in line!

IMG_2913.JPG

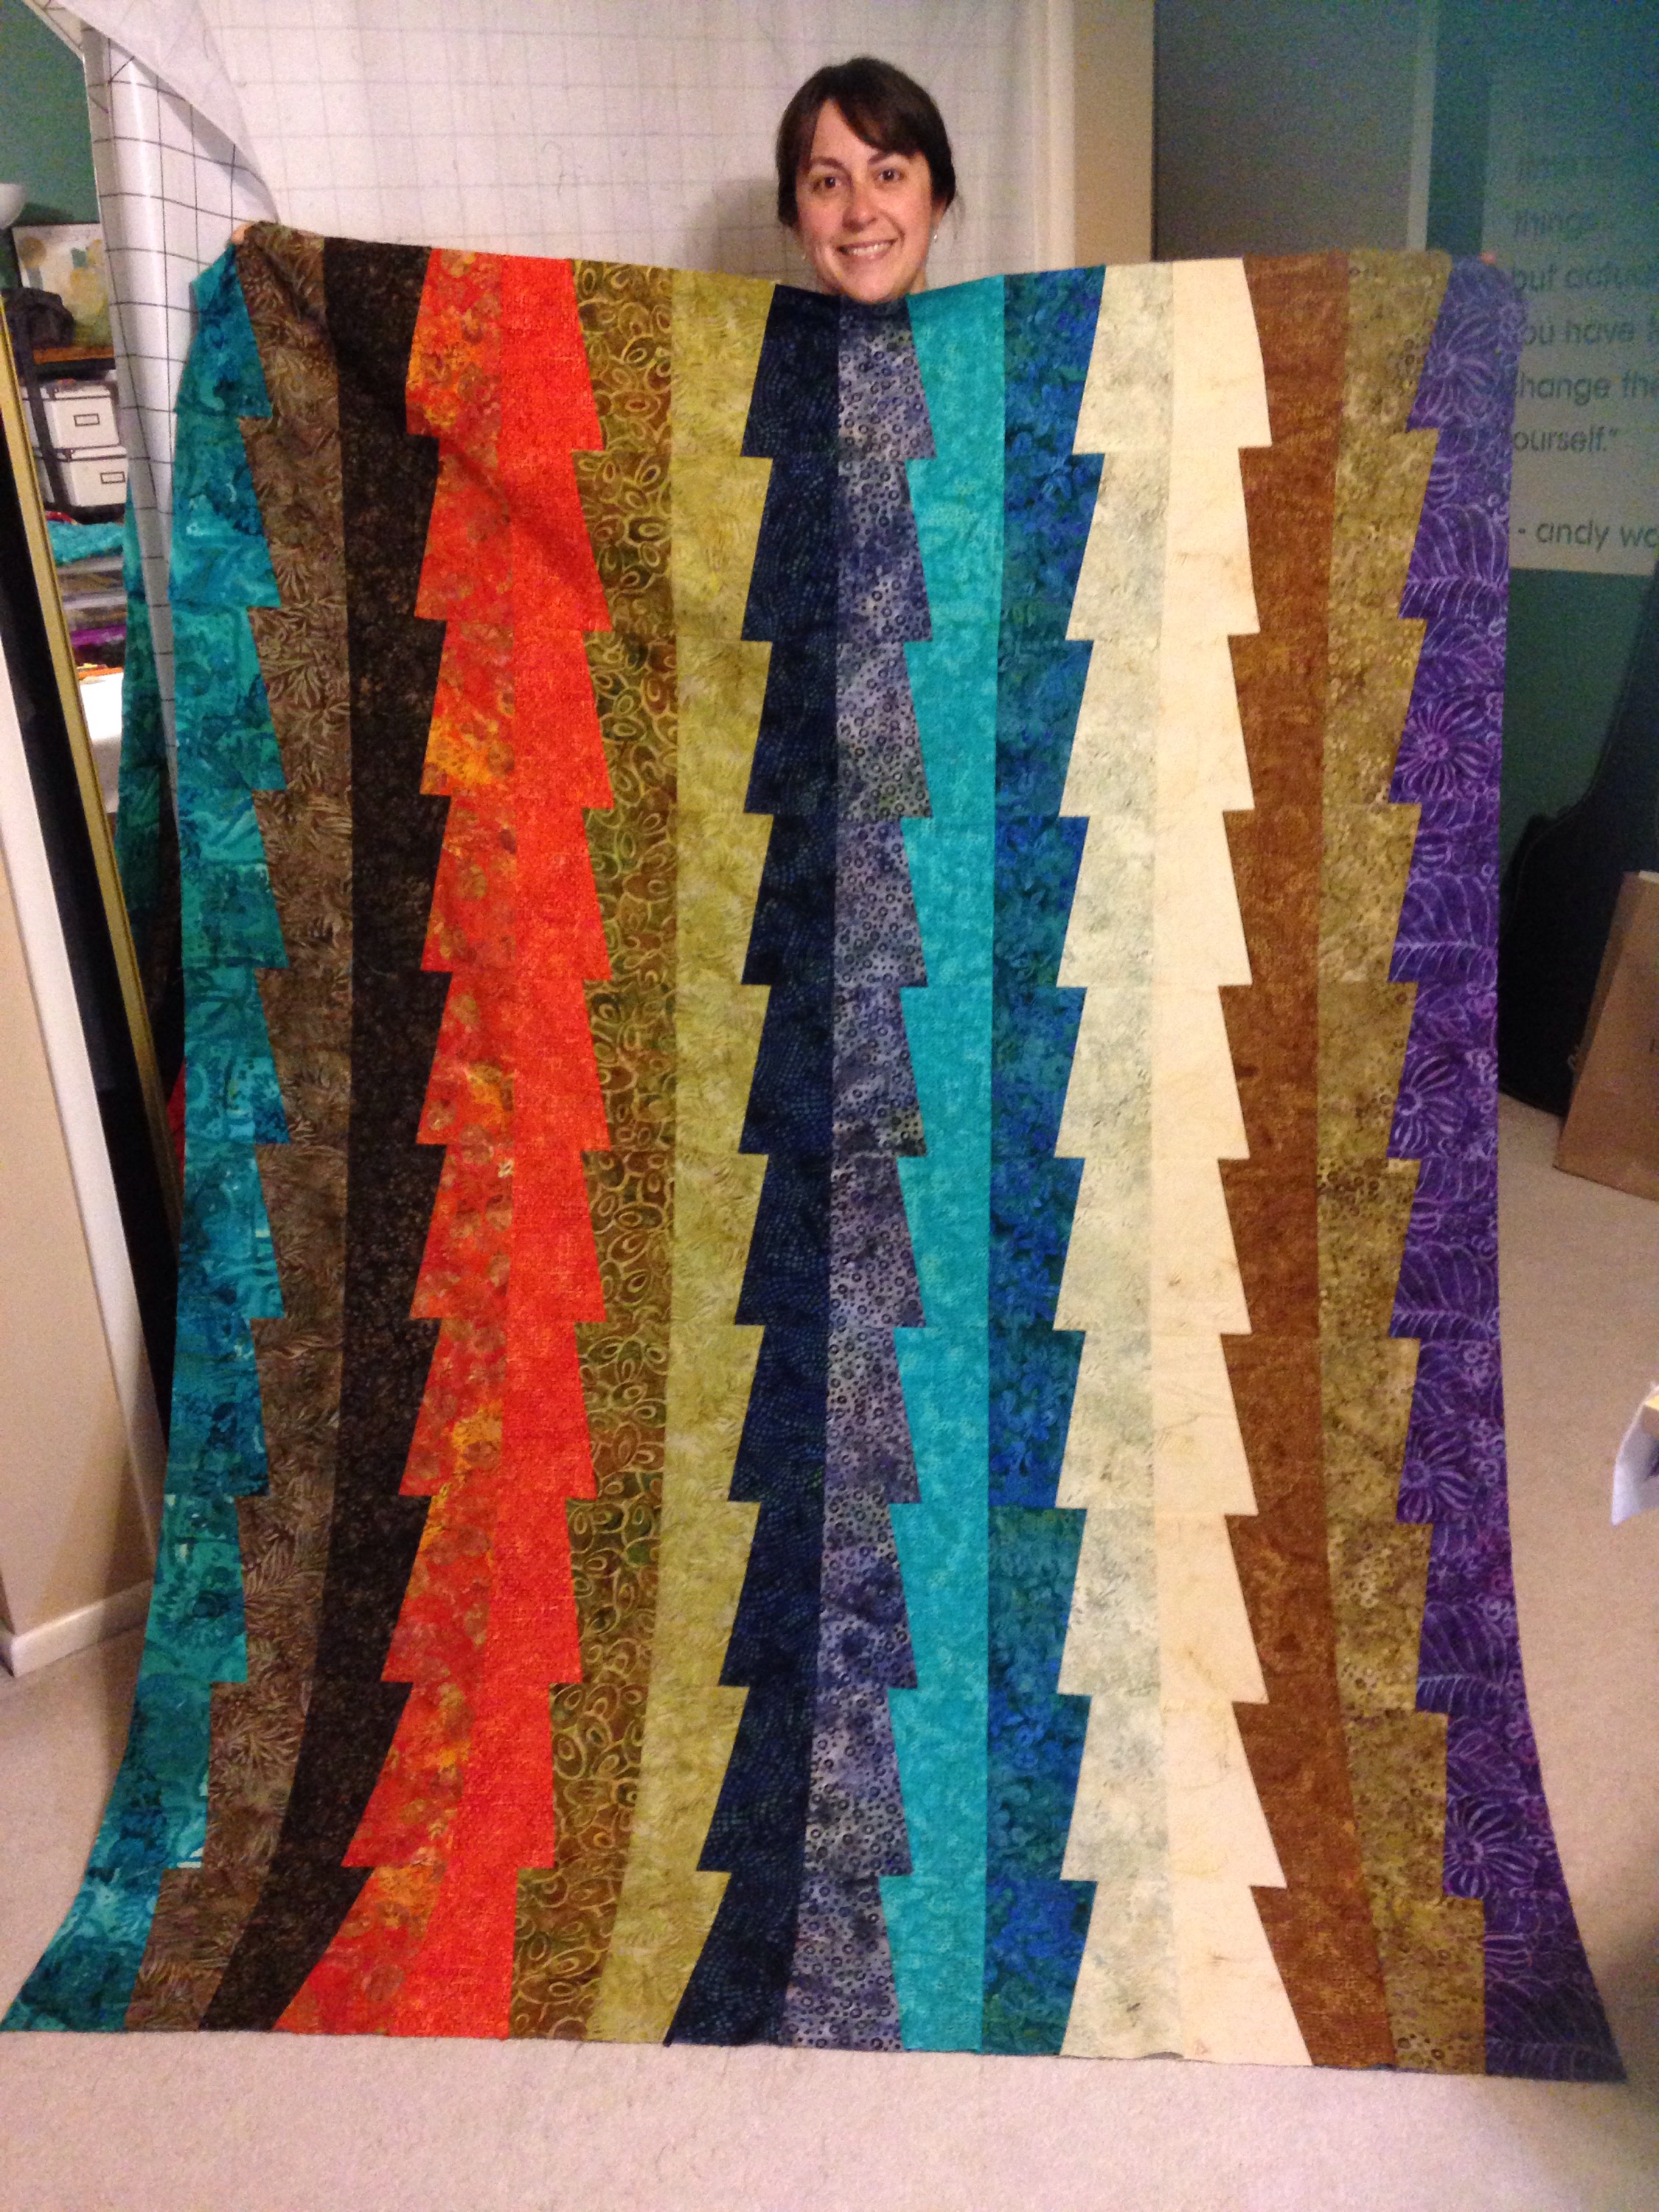
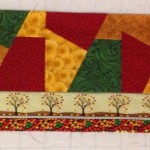
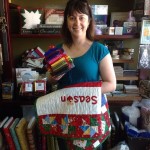
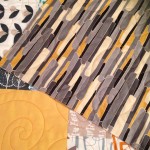
AnnMarie from our guild quilted it for me.  I’ve always admired her work which is also often modern with unique color palettes and straight line quilting.  For this project, I asked for some leaf designs to mimic the leaves in the pattern and to remind Katie of her Oregon roots.

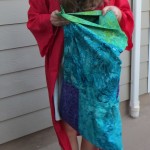
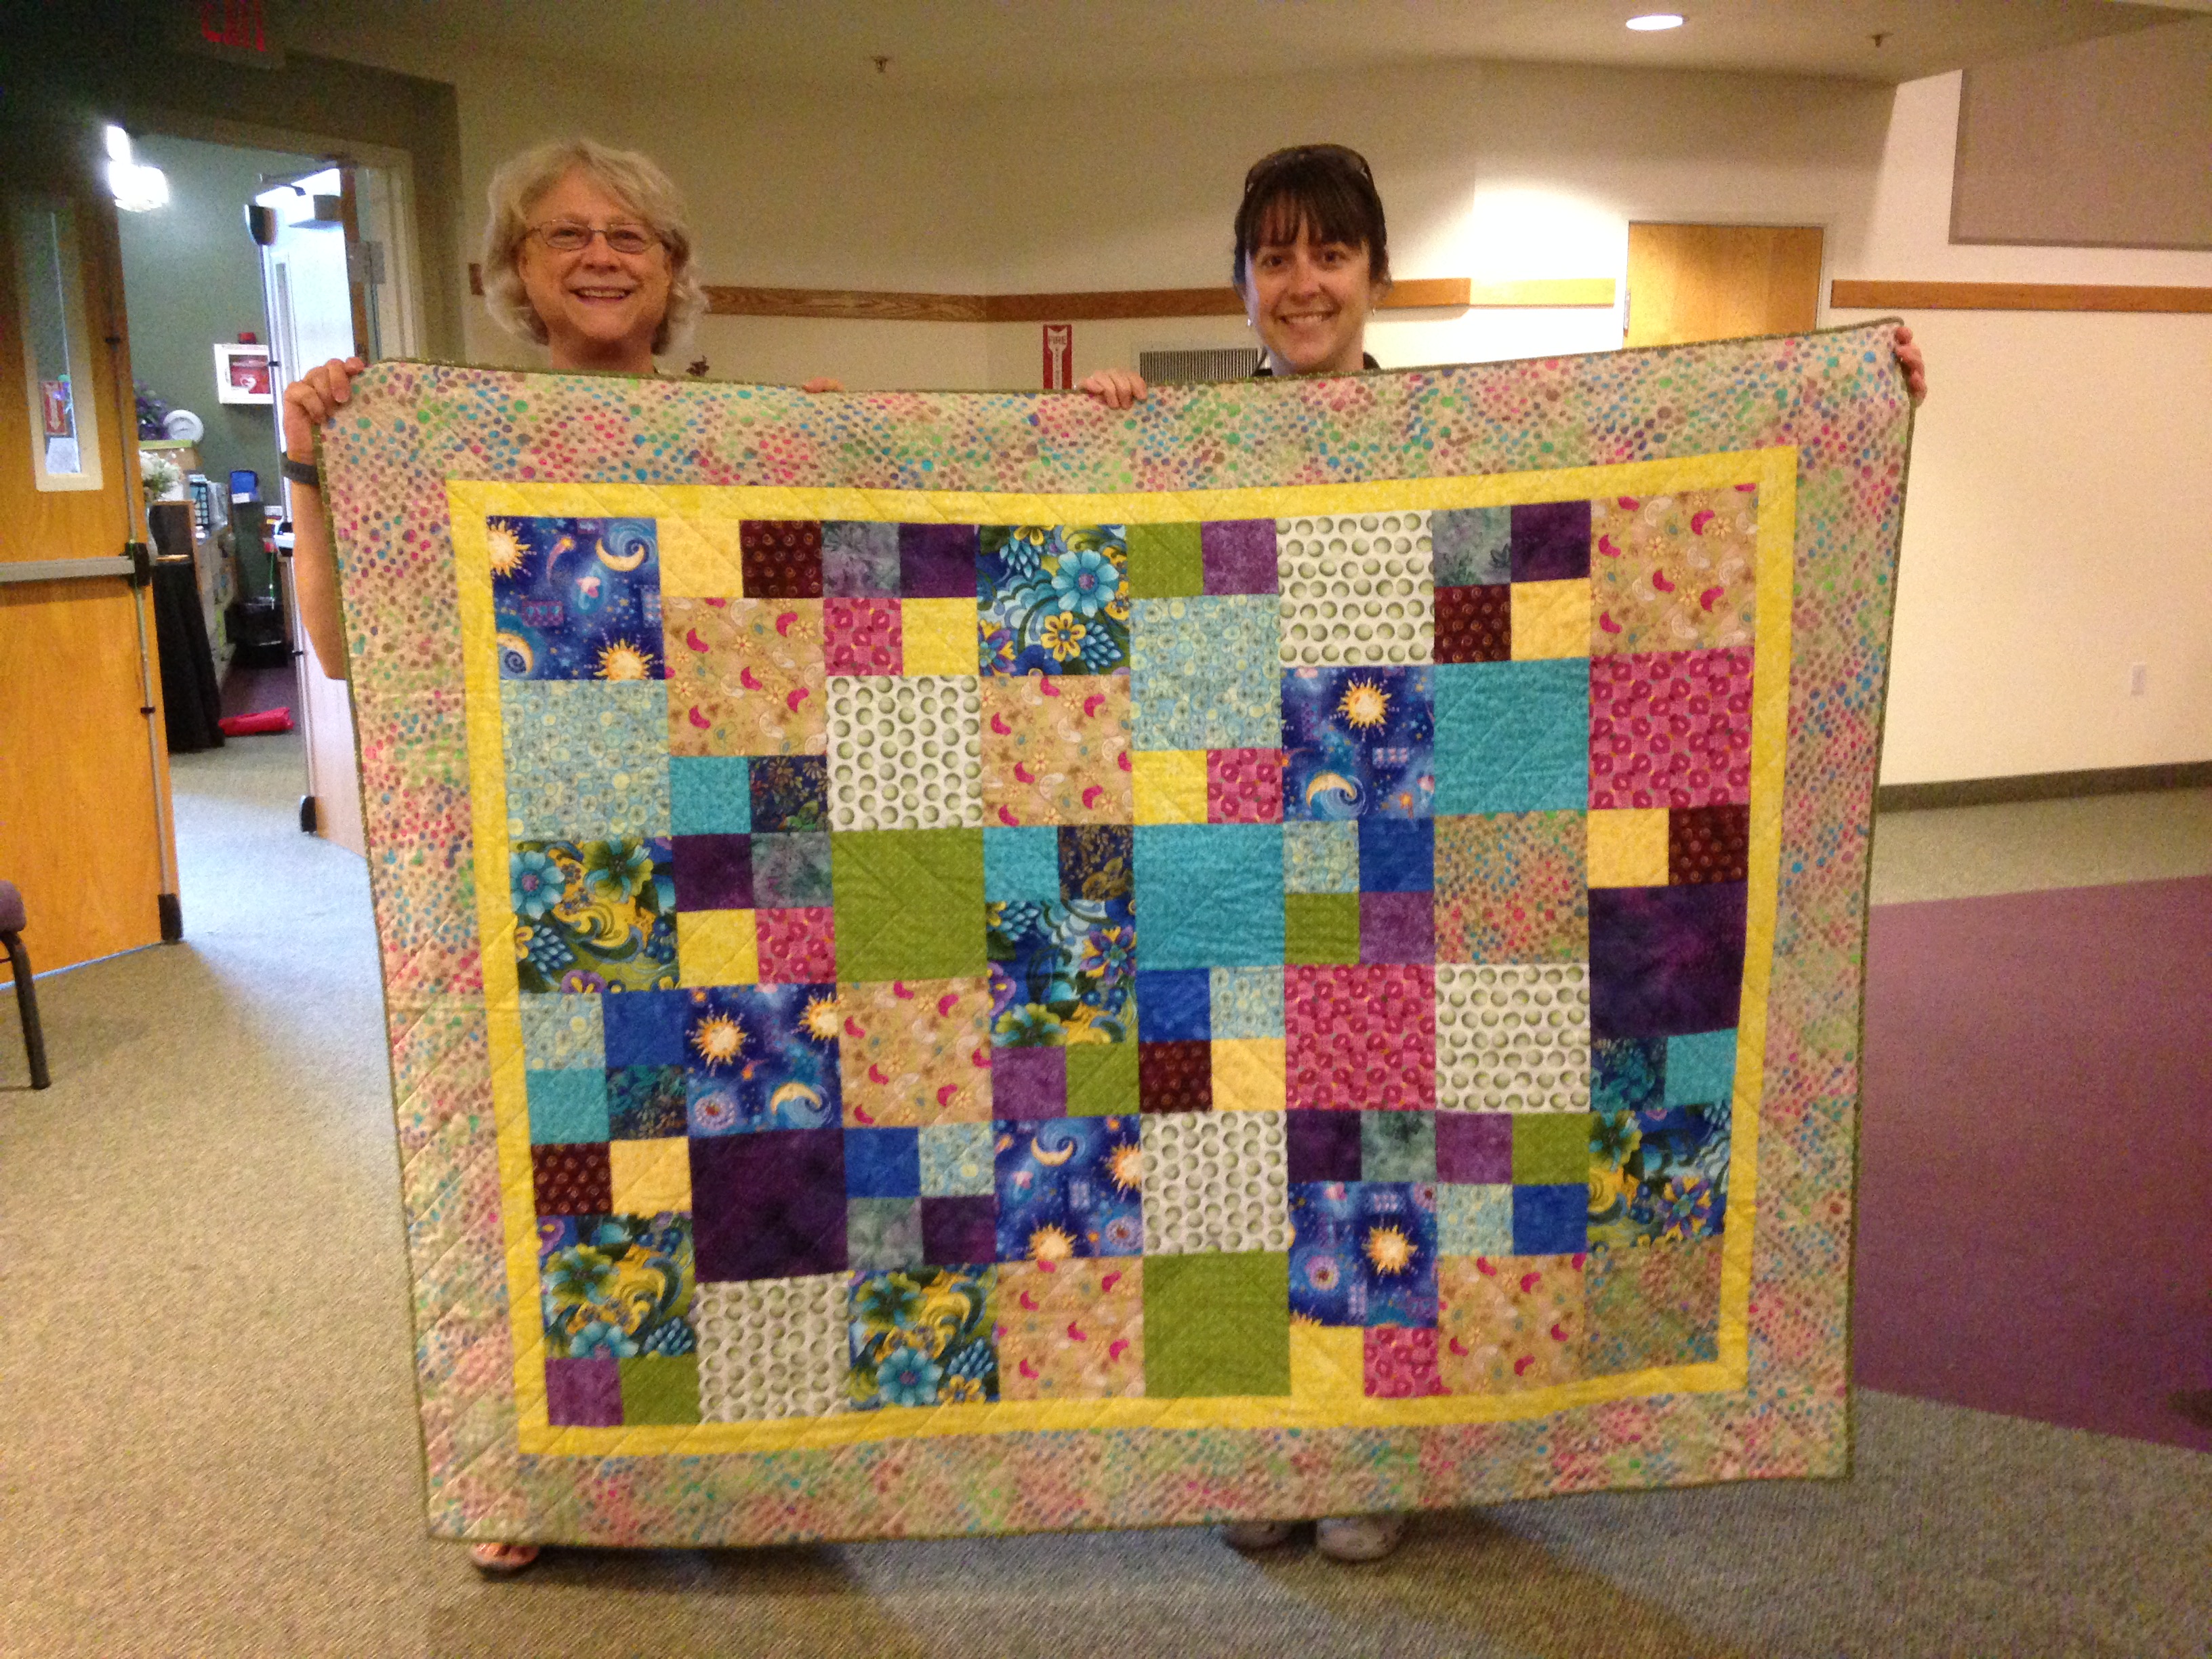
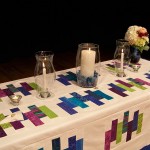
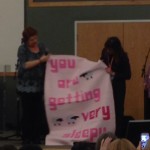
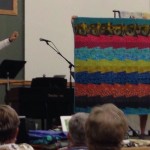
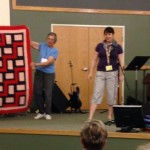
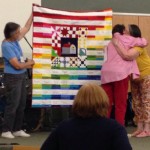
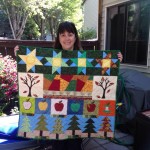
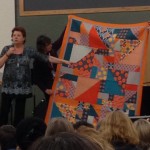
Here’s how both quilts looked the day the girls received them, and pics of the girls too!  So proud of their accomplishments and life path so far, and looking forward to seeing what next adventures are coming up for both of them.

April Sewing Saturday for Charity

Each month, the guild hosts a Sewing Saturday where we come together to work on projects.  Once a year, the projects are all to make charity quilts.  This year, we teamed up in pairs to complete a Scrabble Patch pattern with the help of designer Karla Alexander.  She gave each of us help with our Scrabble Patch and also a copy of any pattern we wanted for later.  I picked the tumbling blocks (seen below).

My teammate, Ruth, met up with me at Sharon’s Attic Quilt Shop to cut up our pieces (mostly from Ruth’s stash) ahead of time, so when we arrived that morning, we started right away designing our quilt.

Other people used sports fabric, Hawaiian, floral, and many other color palettes. I took some pictures in black and white to see the contrast and how it helped with designing.

At the end of the day, we had finished our top except for adding the borders, which Ruth did at home and then together we sandwiched the quilt (using spray adhesive) while enjoying the company of others in my Piece and Quiet group.  I used a straight line quilting pattern on it and Ruth completed the binding.  It looks great and is ready to donate to a community organization!

charity final


Wedding Quilt

I’m working on a quilt to celebrate our marriage this spring.  Usually when I work on quilts, I pretty much document them when they’re finished, but this time, I decided to write along the way about the process and progress.  Just like a relationship, there’s lots of learning done along the way, and it comes together slowly piece by piece until you see the big picture.

I found the pattern in a magazine awhile ago and picked out fabric in blues/greens/purples.  I was thinking it would be a quilt for us, but now that we’re engaged (and the colors of the wedding will be white/cobalt blue/silver-gray) then it fits perfectly.  I like how the block is seven strips together, like counting the days of a week.

(end of Jan 2015) One night was spent cutting apart all the colorful strips.  The next night I worked on it, the white squares and the first block came together.

blue pieces

(1/26/15) Tonight I put together a second blue themed block and created one using the green and purple fabrics.  To keep track of things, I decided to take a picture and refer to it when piecing everything together.  Can you tell that it didn’t get sewn together quite like the picture?  At least it still follows the pattern of long/short pieces and looks just great.  I guess it adds to the randomness of the design process.

I’m sure that at some point in this project, I’m going to sew something off from the pattern and also stitch in a white block upside down.  Both are relatively minor in the big scheme, but it’ll be noticeable to me.  Part of what makes quilts personal are the mistakes though, the human touch.

(April 2015)

The wedding took place with the finished quilt top on the unity table, and it was beautiful!  Aaron was surprised that was what I had in mind, and it added again to the personal touch of our wedding.  Here’s some more in process pictures and how it looked on the remembrance table at the wedding.

Jami and Mary from my quilt guild serged the edges of pieces of white/gray/silver fabric that I used for centerpieces and will end up being the back of the quilt.

centerpieces

UFO’s: unfinished projects

In the quilting community, UFO’s are “unfinished objects” or projects that are in varying degrees of needing to be completed.  The guild issues a challenge each fall to members to complete their UFO’s.  At the November 2014 meeting, we can pay $3 into the challenge to submit our list of projects, and at the August 2015 meeting, we’ll reveal the results.

Here’s my list with pictures:

Mystery Quilt

I’ve never done a mystery quilt before, so I’m excited to try this one designed by Joyce Geiszler from our quilt guild http://www.quilterchickdesigns.com/.  I found these fabrics at Joann’s that are different colors than the pattern but match the light/medium/dark requirements:

mystery fabricThe first “clue” is to make about 40 triangles using a new ruler (thanks to coupons and teacher discount).  The birds are a directional fabric, but since I don’t know what the final project will look like, I’m not too concerned…in fact I think it will look great, like they’re flying all over the place!

IMG_1612.JPG

Speaking of birds flying around, the second “clue” is to make flying geese blocks.  A whole flock of geese actually.  Thanks to Marta, I borrowed her BlocLoc ruler to square up the final blocks, which made it much easier.

At the November Sewing Saturday, Joyce gave us the next two clues (four square patches and square in a square blocks).  She helped me with some color choice ideas and techniques for making accurate blocks with cutting/ironing techniques.

Here’s what Marta’s looks like as she finishes sewing the pieces together!

Marta's version

Quilt Shows

I realized tonight (8/22/14) that I haven’t yet written a post for quilt shows.  It’s fun to attend quilt shows to get inspiration and see products/fabrics/displays from a wider variety of shops.  quilt knit stitch

This fall, mom and I attended the Quilt Knit Stitch Expo here in Portland, OR. Thanks to Deb at Quilter’s Corner Store for the free tickets!

At this particular fair, many vendors had signs about not taking pictures of their displays.  They must have had difficulty of people stealing their designs.  So instead, I tried to pick up flyers and information so I can go back later and look at or purchase patterns.  Here’s some of the interesting sites to check out:

Kay Mackenzie = a friendly lady who helped me with ideas about how to applique.  I told her about my recent attempt (Initially Yours Quilt) and she gave some good advice about going slow and stitching at 90′ around the appliqued design.

Thanks to the reps of Moda for the free mini pack of fabrics and a reminder to visit their bakeshop site for free patterns.

Some great little ideas and colorful projects covered the booth for Pieceful Designs. I especially want to make something like this:

The pattern designers, like Nancy Lorene, are so creative and shops like The Stitchin’ Post are full of ideas.

Initially Yours

One of the guild activities each year is a Challenge Quilt.  This year, it was the theme “Initially Yours”.  We were to use either fabrics or styles or images reminiscent of our initials.  For me, this was a chance to make a quilt I’ve been thinking about for awhile, a landscape beach scene.

I used the “A”pplique technique of using “F”usible “F”abric and decorative “S”titches.  Included are fabrics that imitate “A”qua water, trees in a “F”orest, and “S”andy beaches.  There’s even a tidepool and kites flying since those are two of my favorite parts of visiting the ocean.

It was fun to see what other people came up with, and many of us used this opportunity to try a new technique.  Here are a few that I liked, which turned out to be the three most popular as voted on by the guild members.

(2015) This year’s challenge quilt was to use “neutral + 1 color family + zinger”.  It was again interesting to see how people interpreted those “directions”.  This was one of my favorites.

art quilt umbrella

Guild Visits

(January 2015)  This month, Portland quilt maker and artist Sam Hunter brought a trunk show and words of wisdom to inspire our guild members.  I bought one of her patterns and enjoyed the variety of her quilts (colors, types of quilting, “crap backs”)

(Fall 2014) This month, Karla Alexander visited the Westside Quilt Guild.  Her studio is in Salem, so I’ve seen her work over the years.  She is known to be a good teacher, so I’m really excited to sign up for her class in September.  At the meeting, she showed many quilts from her new book Stack, Shuffle, and Slide as well as some other quilts from previous patterns/books.  I choose two that I like most to buy a pattern for the upcoming class (and borrow the rulers needed).  I hope to choose some charity fabrics and donate the quilt when it’s completed.

I really liked a few other of her quilts, and appreciated hearing how she decided colors/rulers to use plus pointing out the shape of the “block”.

She included a bunch of wise quilting advice in her presentation:

“I am the boss of my quilts.” meaning that you get to decide the colors, shapes, techniques to include. If you don’t like something, it’s okay to change from the pattern to make it yours.

WRAP “wonder, reflect, appreciate what you’ve done, pause/plan/ponder your next project”

Modern quilts include techniques like “upsetting the grid” meaning that things could be set on their side or at angles that are unexpected.  Floating blocks and using the background as a design element also create a more modern look.

Also at this guild meeting during show and tell, I showed my ladybug quilt!  There was also a presentation to the previous board president of a collaborative quilt (my block is one of the yellow ones).  Also, I made two of the star blocks for the free BOM this time in hopes of winning the stack (someone else won this time though).

I also visited the Portland Modern Quilt Guild. A woman I met at a garage sale encouraged me to attend and a friend who quilts came with me.  Turned out there are quite a few women from the Westside guild who go there too, so many of the show and tell quilts were familiar.  Here’s a few others that I liked (sorry for poor photo quality):

I was impressed by the projects by this group, but the organization of the meeting wasn’t comfortable for me.  I didn’t feel welcomed as a guest and the updates about things focused on website updates and/or key things that only members would know.  There were some quilts donated to an organization but no description given so I had to google them to figure it out (Camp Erin serves kids/teens who are grieving).  I was surprised that some of the donated quilts were dreary colors and/or patterns that didn’t look like teenagers to me.  Again, maybe working in middle school I’m more tapped into their style.  Overall, I think I’ll look online at the PMQG blog for pictures of projects but not make the long drive over to their meetings.

Row by Row Experience – Summer 2014

This shop hop, the Row by Row Experience, is nationwide and quite simple.  Just visit the participating shops and ask for their free “row by row” pattern.  The theme is “seasons” so it might be holiday themed or use the four seasons tree fabric provided by the sponsors.  Some shops offer a kit for purchase with the fabrics needed to make it in their color palette.  Many shops are also selling license plates with funny fabric/sewing related sayings.  I’d like to collect one from each state I visit this summer.

Here’s a few of the blocks I collected in Ohio (pictures courtesy of the shop’s website or from my visit):

When I returned to Oregon, I collected another few row patterns and started work on a wall hanging using 8 of the blocks. Since I only bought the fabric pack from two shops, for the rest I used stash fabrics or picked up fat quarters to fill in sections.  It was fun to practice some new techniques, like the fusible applique.

Also, I used a new technique for basting (not pinning) the quilt that mom taught me using two boards to mimic a quilt frame.  It worked really well!  I also figured out that it would look nice to quilt with two different threads and using diagonal lines since the rows didn’t line up front to back very well.  Here are a few more pics of the process:

After a few nights up until midnight sewing, I turned in my finished quilt for the prize at Quilter’s Corner Store.  25 fat quarters in a rainbow of colors ready for inclusion into new projects and 2 yards of anything in the shop (I bought some beautiful batiks for an upcoming quilt project!  Tea Time Calico also generously gave me a free yard of fabric for including their row in my final project.  It’ll be fun to show the final project at the September WSQ guild meeting.

Charity Quilt Project

The Westside Quilter’s Guild includes a group of members who get together to work on Charity Quilt projects.  They donate to three or so agencies that provide the quilts to kids in crisis, cancer patients, or foster kids.  I’ve been wanting to participate but hadn’t been able to make the day time meeting during the school year.  July was the perfect month and it was great to spend a few hours with this kind group of women.  They encouraged me to pick out 5″ squares and a bag of binding/sashing strips to put together a quilt using the reconstructed 9 patch pattern used for the spring Charity Quilt Olympics.  All the fabrics were donated, and they’re not the usual colors I like to work with, but a good practice experience for me and rewarding to think about giving it away to someone who needs a warm cozy quilt.

I made some progress on creating the 9 patch blocks.  I’ll use 12 different fabrics combined in pairs to create some organization, but still a scrappy look.  It’s hard to tell from this picture, but most of the blocks are brown/pink/green colors and the sashing will be green.

Charity Quilt in process